Audi DIY, Audi A3, Audi 100, Audi Convertible, AudiCoupe, Audi RS6, Audi S2, Audi A4, Audi S4, Audi A6, Audi S6, Audi A8, Audi TT, Audi Q7, Audi Allroad

Audi A3. Aftermarket Stereo System 2006 A3 Major Progress

I was going to wait until next month when this project is complete. But I am finding out a lot of important information so I will start this post at the beginning and not the end of my audio-overhaul.

<> Base speakers. WOOFER SIZE - As I believe Zakurie was trying to tell me a month ago, the size is 6.5". Yes, in the base stereo system. They are actually an oversized 6.5", if you can believe that! Looking at the grill, they appear to be 5 1/4". I am very impressed with the clarity and level of sound we get from these speakers, especially after discovering that they are share the same thickness as construction paper -which is very bad. It would be a VERY good upgrade if you swapped these cheap woofers with quality aftermarket speakers.

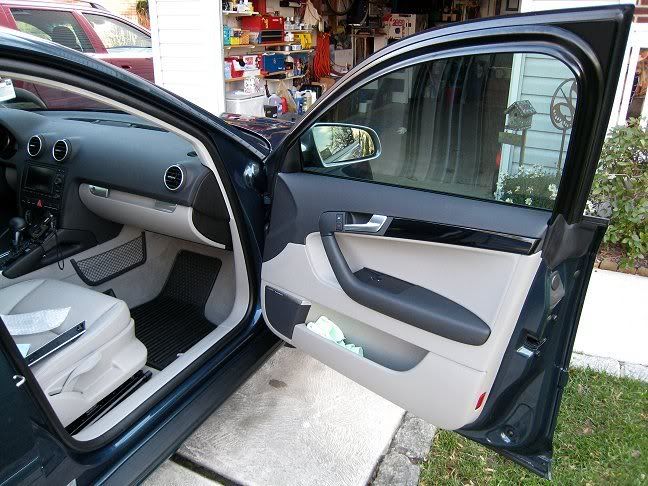
<> Base speakers. BAD NEWS - very very bad. The woofers are not just screwed into the door panels. They actually GLUED the surround of the woofer to the factory basket. This means I will have to destroy my factory speakers to install the new woofers. I have seen this in 911s and a 928. I have done some research on it, and apparently it's very common with most German cars. Ugh!

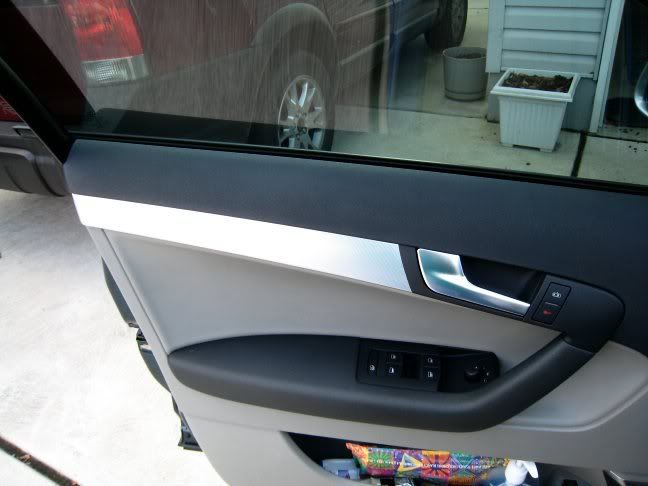
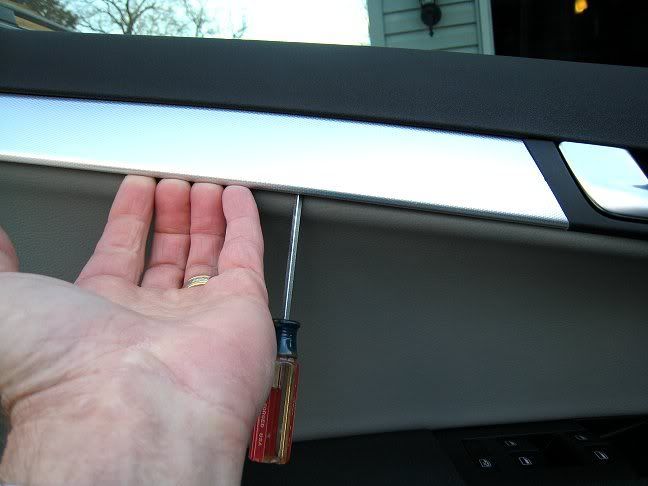
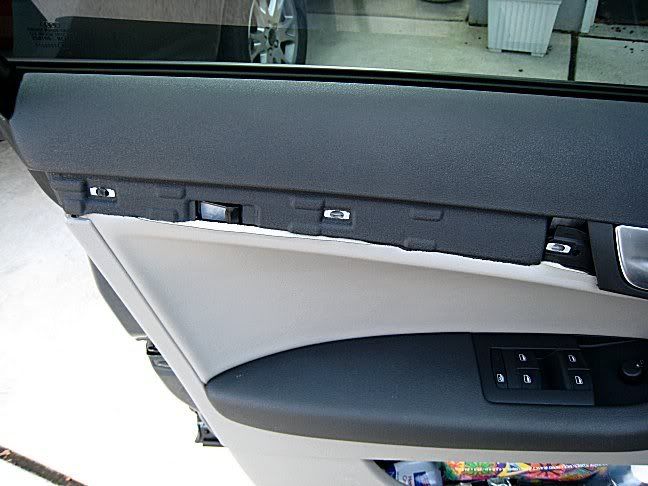
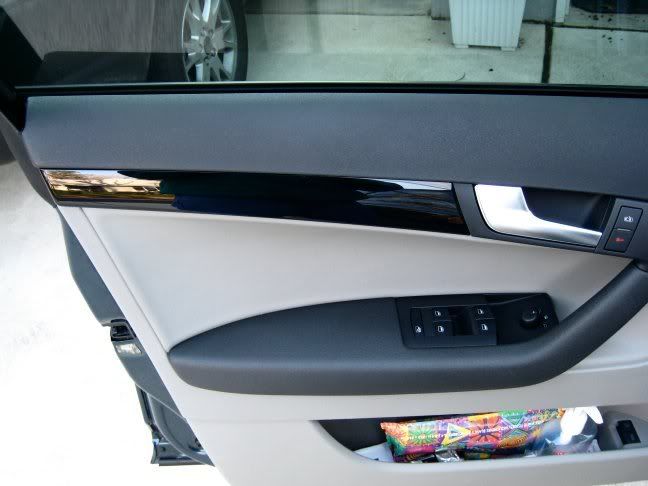
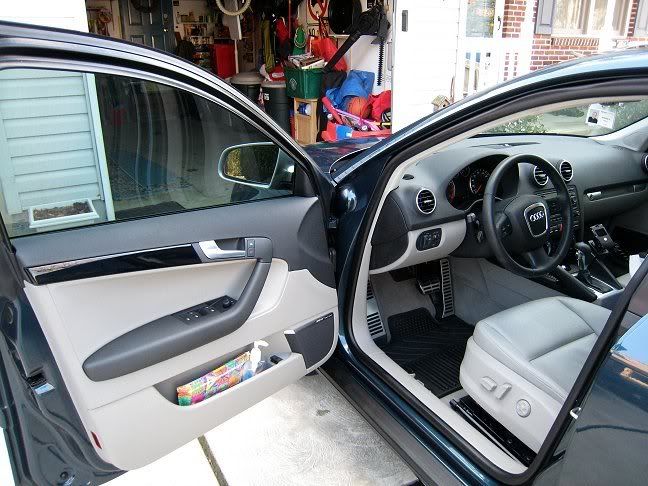
<> Door dampening. I ordered Dynomat for the car, but after taking apart the door, I will be returning it! This door has a complete door skin, it's almost like a Mercedes Benz. Nice work Audi!

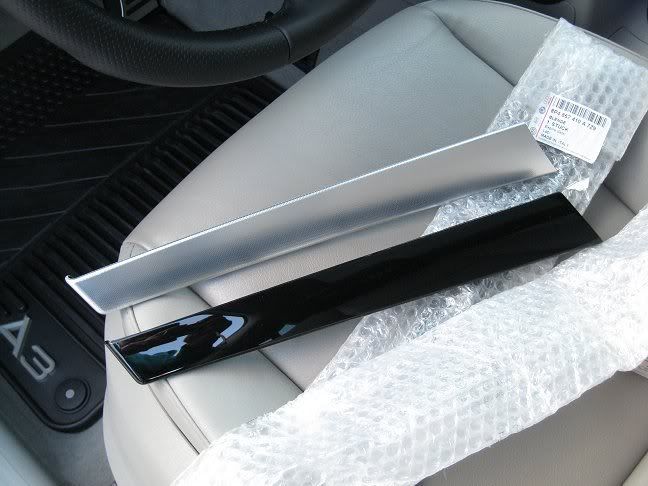
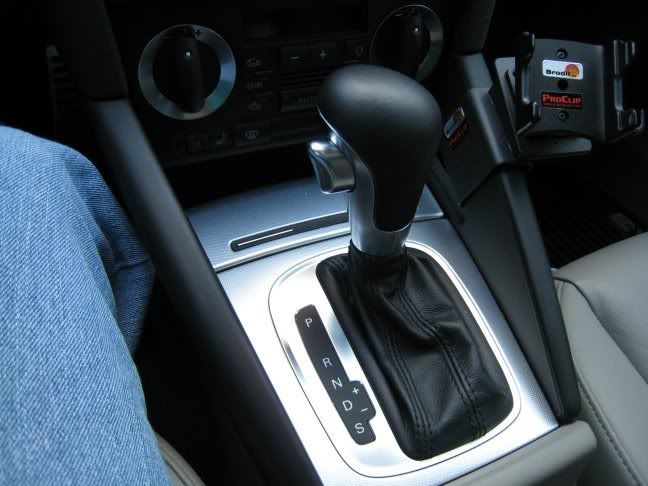
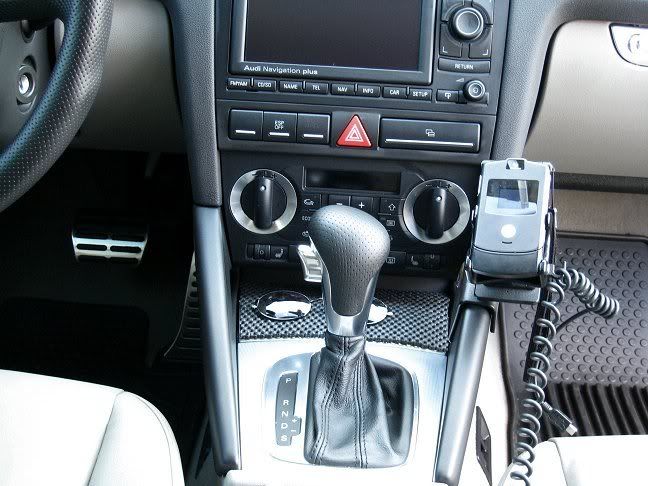
<> Dash kit - Crutchfield has no idea an Audi A3 exists, as of 3:30pm, 8/11/05. I dropped off the factory face plate and the new DIN size head unit to a metal shop. They will do some custom work and machine a new face plate to match the chrome look on our dash and doors. I am thinking about having a few extra made for future fourum member's projects. What do you think?

<> Subwoofer - I don't want free standing sub, anywhere in the cargo area. This will make for a big project. I wanted to take out the spare and build a custom enclosure for the wheel well under the deck. I took it all out today and there isn't enough room due to a LARGE METAL welded piece. May take off the left wall of the trunk where the sub/sat box is, and do some discovery channel-style installation.

If anyone has any suggestions, ideas, or corrections, PLEASE respond asap. This is all going down, right now!

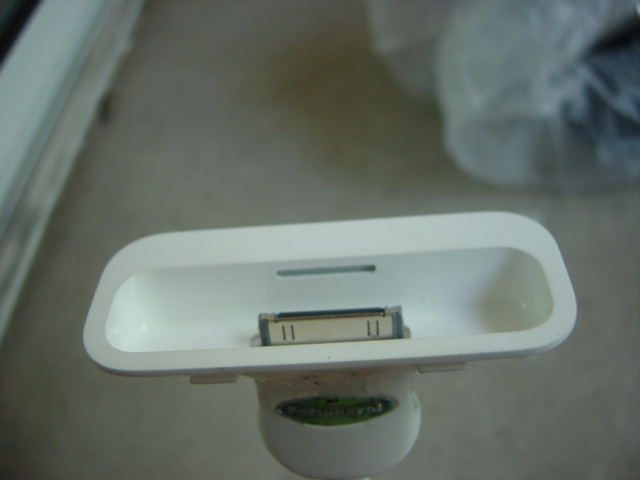
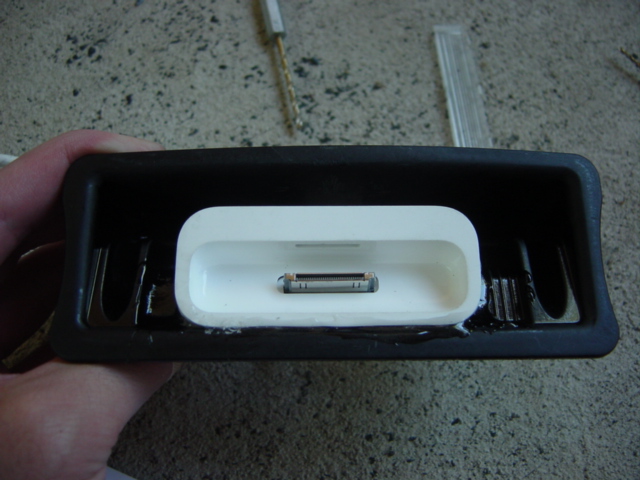
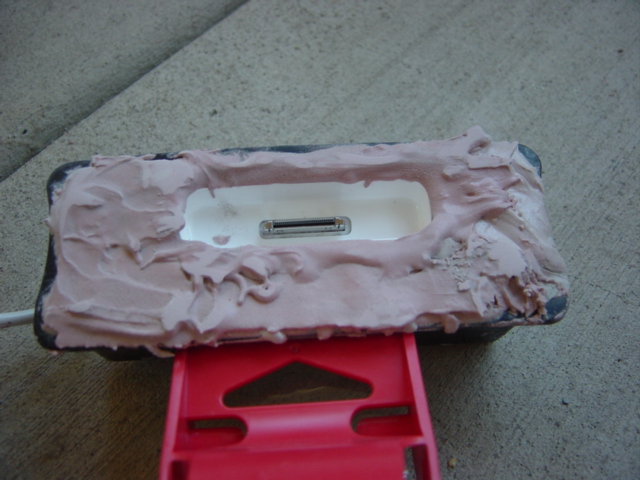
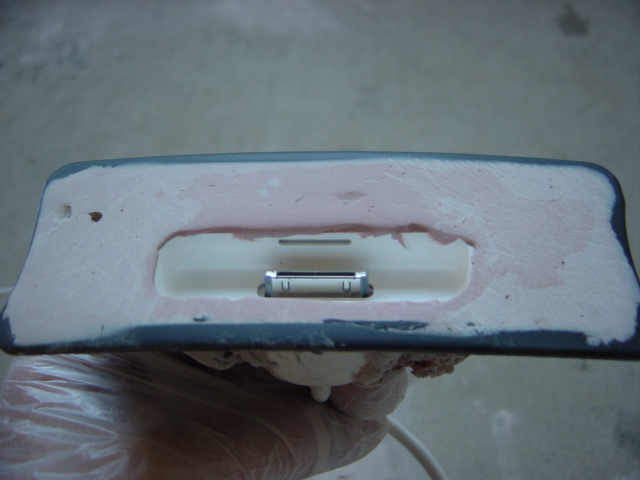
Yes, I plan on taking a few pictures of everything I tear apart.

Audi A3. 2006 Audi A3 8P Concert II and Symphony II SAT Tuner Install

The following instructions are based on my personal experience and are in no way an official set of instructions. I provide no warranty whatsoever. If you use these instructions to install your own Audi satellite tuner, you do so at your own risk. I doubt Audi will cover any issues under warranty without charging you for the entire install. So, good luck.

These instructions are only tested for 2006 Audi A3 8P Concert II and Symphony II (BOSE) non-NAV

This process should work with either of the following SAT Tuners:

8E0 057 593A - XM
8E0 057 593 - Sirius

These tuners can be purchased at your local Audi dealer, eBAY or web vendors like http://www.clairparts.com/

This is a super ez mod consisting of the followoing steps that (according to Audi's instructions) must be performed in this order:

  1. Install the tuner in the space provided on the left side of the boot area.(FIG 1)
    • lift plastic cover, there are 2 clip holes. A small screwdriver or a key will open easily. (Arrows in FIG 1)
    • Locate foam wrapped cable ends (FIG 2)
    • carefully clip zip ties from factory and unwrap the plug ends
    • remove bypass loop plug from CAN cable (FIG 3)
    • plug cables into sat tuner (FIG 4)
    • slide SAT tuner into the mounting bracket. Fit is very clean.
    • secure with 2 very small zip ties (FIG 5)
  2. Remove passenger side kick plate by door and connect CAN bus plugs
    • Carefully remove kickplate cover - Typical VAG plastic part with metal clips. Requires a firm tug in strategic places to remove w/o breaking anything. Take it slow and be careful. The plastic above the top clip needs some care to remove without stressing the plastic (FIG 6)
    • locate cables, they are wrapped to exisiting wiring bundles with masking tape
    • remove tape, plug CAN connectors together (FIG 7)
  3. Turn on car, press SAT button on stereo and tune to preview channel
    • Go to SAT vendor website and activate your SAT tuner, make sure unit is on and receiving signal when you do.

That was all I had to do!

You will notice no mention of VAGCOM, the official line from Audi, says you will have to use VAG COM, but I did not. I installed a Sirius tuner in a BOSE, SAT Ready, Non-Nav factory HU.

For your reference I am posting what I have been told needs to be done with VAG COM.

  1. Plug the CAN compliant VAG COM ito the A3 8P Dash port
  2. Select Option 56-RADIO
  3. Select Option 10-adaption
  4. Enter Channel number 99
  5. It will show -1- Slide bar to -0- Remember to Save Settings
  6. Display on VAG COMshould say that Value -0- was saved.
  7. Back out of the setting. Radio/SAT receiver should now operate.
  8. If you still see "No SAT Radio" when you hit the SAT button, you need to recheck the wiring. All CAN connections must be verified.

I plan to borrow a VAG COM to double check these settings, but I have been working 100% for a week without any VAg COM modifications.

Audi A3. ITray for IPod mod

As I do not smoke (gave up after trying it for 1 week in my teens), the Audi ashtray has been forgotten in my car. Today, I decided to make use of this abandoned piece by making it an ITray. Now onto the instructions

My IPod interface is made by Peripeheral that I rewired to make it work with the A3. The connector has these retention clips that secure it to the IPod. You will need to remove these clips using a cutting tool. I found using a finger nail clipper works well.


Use 180grit sand paper and sand carefully around the plastic connector. Also sand down the IPod adapter tray and the ash tray as well.


Cut a hole in the ash tray to allow your IPod cable to pass thru


Place your IPod in the tray and attach the connector. Use some epoxy (I used 1 minute epoxy as I'm very impatient), and carefully glue the connector to the adapter tray. Be sure that the epoxy does not leak in between the connector and the tray or your IPod will be stuck forever.


Once the epoxy sets, carefully glue the adapter plate into the ash tray.


Once the adapter plate is secure, throw on globs of Automotive body filler


Sand like a mo-fo and patch any imperfections


Sand again with 130 grit and once smooth, move to 300 grit


Mask the IPod connector and spray away


Apply a few light coats and then wetsand with 3000 grit. Dry and apply a light coat. Then install it!!!


I can say I am pleased with the results. As the IPod's screen is really clear, reading the songs that are playing are easy. Also, the view is clear with the Slush box in D/S/TIP but of course is blocked, but not hitting, when in R and P. The project took me about 6 hours to do so it can be a one day thing but the results are nice.

Audi A3. Audi A3 - iPod Install

Okay, I was too impatient to wait for the Audi ipod OEM solution. I have just finished installing the necessary components, and it just works. I want to thank N3WBI3 at the audiworld.com fourms for investigating this and confirming it.

The exact details and part(s) needed

PARTS

You will need a Audi/VW radio removal tool. If you have the Symphony II, I think you will need 2 pair. (I have the Concert II).

The car is NOT pre-wired for CD, so I also had to purchase the AA3-HAR adapter that is shown next to the radio removal tool. The 10mm wrench is for disconnecting the negative battery terminal. Oh yeah, this article is FOR INFORMATIONAL PURPOSES ONLY.... I'm not responsible for any car-fires caused by faulty installation.

Install Pics


Here you can see the VW/PC-POD adapter. There is lots of space behind the climate control area.


You can see how the top rack of cables plugs into the adapter cable.


The iPod adapter takes the right-most slot of the top bank on the radio. Make sure you ground this cable to metal.


The slightly harder part is feeding the iPod dock cable from the back of the center console to the glove box. The glove box liner comes right out with a firm pull. I drilled a hole in the back to allow the cable to pass through.


Here you can see what it looks like when finished. You can leave the cable in the glove box if you want, but I was getting tired opening/closing it, so I have opted to leave it out for now. A neat installation would be to get a dock and retrofit is somehow to go where the ashtray is currently located. If anybody has any ideas...

I purchased the iPod interface for approximately $140 shipped via ebay and the cable was another $25. I was quoted about $195 (includes tax) for the Audi cable, so I saved a little, and I got it a whole week earlier. You can see that the PIE interface disables the iPod when connected.

Hope this helps.

UPDATE:

I have changed the placement from the glove box to under the console as I was getting tired of opening/closing the box to get the iPod. Some people have mentioned that they like to keep in the glove box for security reasons. I am thinking of making some "home-brew" panel to cover this area so at least you don't see it from outside the car while parked.

Audi A3. A3 air shifter/front door trim mod..........

Well, the door trim is cake; but the shifter was a bit more challenging than I thought it would be. Just take it slow. you'll see, I only did the knob, but the boot/knob will be no more difficult. you'll need a pair of needle nose pliers, a zip tie, or, whatever.
Here's the before trim....6 scratches :-)

Photobucket - Video and Image Hosting


just get your fingers under there, and pull towards you evenly from L to R, then there's a clip that slides from R to left.
Photobucket - Video and Image Hosting


Off
Photobucket - Video and Image Hosting


Oh what a difference
Photobucket - Video and Image Hosting


You likey?
Photobucket - Video and Image Hosting


Photobucket - Video and Image Hosting


Ok, are you ready?
Photobucket - Video and Image Hosting


Pull that button out, very easy.
Photobucket - Video and Image Hosting


then, slide a zip tie up and under the button, there's a notch, get it in there and pull it secure. this is important.
Photobucket - Video and Image Hosting


OK, then open the ashtray, and from the rear of the shifter trim plate, slip your fingers under there and pull up...up it comes, now pull that sucka up over the knob...twist and turn a little to get it past.
Photobucket - Video and Image Hosting


OK, now get a flathead in that devil clamp and twist like Chubby Checker.
Photobucket - Video and Image Hosting


Hey!
Photobucket - Video and Image Hosting


Can you pull up?
Photobucket - Video and Image Hosting


No, you can't; and here's why.....
Photobucket - Video and Image Hosting


the end of the shifter knob, has 4 little notches that hold it onto the ring that the boot is attached to....
Photobucket - Video and Image Hosting


You'll need to push the end together so the shaft of the knob can pass thru that ring ....then pull up as you do that....take it easy.....
Photobucket - Video and Image Hosting


then I used a super duper zip tie to secure, the width was identical to the width of the channel where the clamp was...I trimmed it down a little more, it was biting into the boot
Photobucket - Video and Image Hosting


And now, ladies and pic whores........
Photobucket - Video and Image Hosting


Photobucket - Video and Image Hosting


Photobucket - Video and Image Hosting


Photobucket - Video and Image Hosting


Photobucket - Video and Image Hosting


Photobucket - Video and Image Hosting


Photobucket - Video and Image Hosting

Audi A3. 30 Minute Amateur Rim Rash Repair

It was a nice day outside today, so I decided to repair a road rash I had on my rim.

This is the road rash I got on my Oettinger RZ's


-------------

Tools and Materials you'll need...

-Eye Protection
-A beer or more
-And these items below....


-------------


1. Put on your eye protection and grab your Dremel. Put on the pointed grinder bit, at low speed. Begin working on the rash, smoothing it down and keeping it parallel to the rim lip. Work it until you have removed some of the deep scratches.


Once you have grind down the rash it should look like this...


2. Next move to the sander bit. This will smooth out the high and low areas of your rim. I believe its about 320 grit. Again low speed and keep it parallel with the lip.


Once you have sanded down the rash it should look like this...


After you have used the sanding bit. I moved into sanding blocks, this will keep your lip rounded and help smooth the edges out


After the blocks, move to some sand paper. Move to 400 and then to 600 to smooth everything off... Lightly sand it, It should start having a little shine to it once you start doing this process...


3. Polishing. Switch to the polishing bit, add a little polish to the tip. And being working the polishing into the lip slowly. Again you are on low speed. Work until the polish turns black.


4. Wipe off the black. You might want to go back and hand buff it one more time.


5. Results.


Neither Audizine nor its Members may/will be held responsible for the outcome of performing a modification (mod) to one's car. Such acts are performed at one's own risk and sole responsibility must be assumed by you. This may include, but not be limited to, the voiding of the vehicle's warranty.