Required parts/equipment:
(3) LED's (3mm, Low Intensity, T-1 size - Available from Radio Shack)
Fine point soldering iron and solder.
Small jewelers screwdriver or equivalent for prying apart light assembly.
Needle nose pliers.
Wire cutters.
Patience and a steady hand. Prior circuit board soldering experience recommended.
Start by removing the frame at the top of the center console. It just pulls straight out. You can open the storage tray and pull the upper right corner to start it or carefully pry it from the sides. Then pull out the left-most blank button so it's easier to grab and pull the ESP switch out, which in turn makes it easier to grab and pull the Airbag light out. Again, just pull.
Now that you have the light assembly loose, press in the tab on the side of the blue plug and remove the light assembly. I didn't really have to do this on mine. The plug just came loose by itself but required the tab being pressed after I reassembled it properly. Note: The blue plug will tend to fall back into the dash but you can just pull the ESP button towards you and the other plug will come towards you as well since it is on the same wiring harness.
Once you have the button free, you will see that it has a black section and a blue section. You split the two apart by prying up the black plastic with the jewelers screwdriver at the tabs while pulling it apart. Here's a picture with one side loose:
Now you should have something that looks like this:
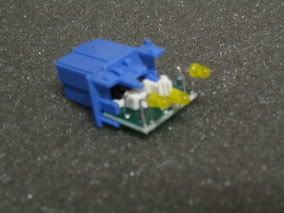
The little circuit board with the LED's is not attached to the blue plug but it may be easier to keep them together for easier handling.
Now remove one of the side LED's, not the middle one. Heat both leads at once while pulling the LED with the needle nose pliers or you can heat one lead and pull on it with the needle nose pliers until it gives a little, then do the same to the other lead, and work back and forth until it is removed. Straighten out the leads and try to get it back to roughly the same shape it was before we started as this will be used as a pattern for the new LED.
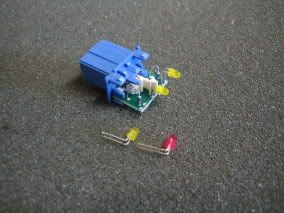
LED's are polarized! They must be installed correctly to work! The new LED will have one leg longer than the other and this leg must be mounted so it is on the passenger side of the light assembly when it is installed. With this in mind, grab the leads with the needle nose pliers and bend the leads to match the old LED. If you point the LED towards you, the longer lead should be on the right. Now cut the leads to the same length as the old LED. Here's what we've got so far:
Now to install the first LED. If you have a solder sucker, clear the solder out of the existing holes. If not, you can do the same thing using wire or the leads you cut from the LED. Heat up the wire or LED lead by holding it against the soldering iron with the pliers and inserting it into the hole that is blocked with solder. The solder should attach to the wire/leads and clear the hole. You should now be able to insert the new LED into the existing holes. Position the LED at the same height as the existing LED on the other side and solder in place. (Soldering tip: Apply the tip of the soldering iron to the LED lead and solder pad around the hole at the same time, then melt the solder onto the lead and not the soldering iron.)
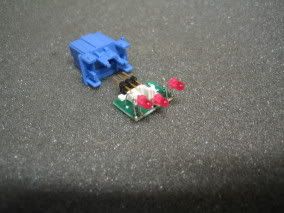
After installing the first LED you should plug it in to check that everything is okay. It should look like this:

Now remove the other LED's just like you did the first. The middle LED has shorter leads so you will have to heat both leads at the same time while pulling it. Bend the leads of the new LED's and cut to match the old ones. Solder the remaining LED's in place and it should look like this:
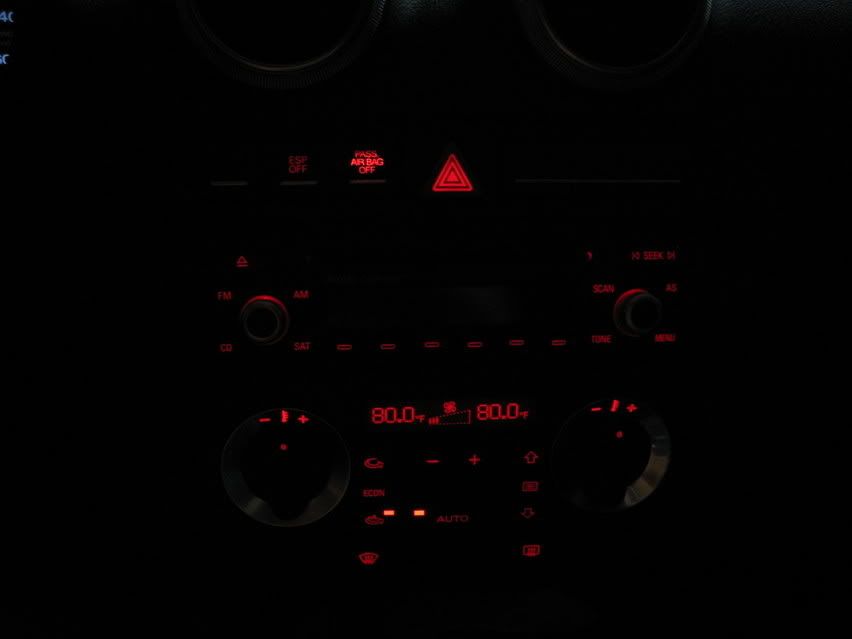
Just put it all back together and enjoy a more harmonious dashboard illumination display.
No comments:
Post a Comment