The only thing I carry on the bars are SporTube Ski & Snowboard Cases. They have a handle that fits over the front bar perfectly but there's a rib that runs down the length of the case (it's how the two telescoping pieces are kept together, actually) which needed something to help it fit comfortably on the rear bar. For the VW, I had made some adaptors out of aluminium square tube which worked well.
When I got the A3 I immediately ordered the Audi bars from AutoWebAccessories. They were backordered and finally came in right before I needed them for a ski trip over the holidays. When they arrived, I opened the box and was horrified to see all of the plastic endcaps (2 pieces on each end of each bar) were completely shattered. I guess they got cold in shipping, and were dropped on both ends of the box.... After my initial freaking out, I realised a few things.
- The plastic pieces are just cosmetic, they aren't necessary to at least use the rack at all
- The two covers (upper and lower) on each bar are identical, front/rear/left/right.
- The plastic fairings under the bar are different left/right, but the same front/rear.
- The design of the plastic covers on the ends of the bar are complete crap in general, and especially compared to the version that I had on the old VW.
With that taken care of, I wanted to improve on my original SporTube adaptors. My 'version 1' had been individual pieces that didn't reach the full width of the roof bar. I decided to make a new piece. Here's how:
Start with a piece of 3/4 inch square aluminium tube, 4 feet long. This is too long for the roof bar, so it has to be cut down. For the rear bar on the A3, I decided to make it 38.5 inches long. One end of the aluminum tube had a sticker on it, so that was the end that got cut off. All the hacksaw cuts were made with the aluminium tube clamped in a mitre box. When you get the Aluminium, also get the black plastic caps to snap in each end when finished.
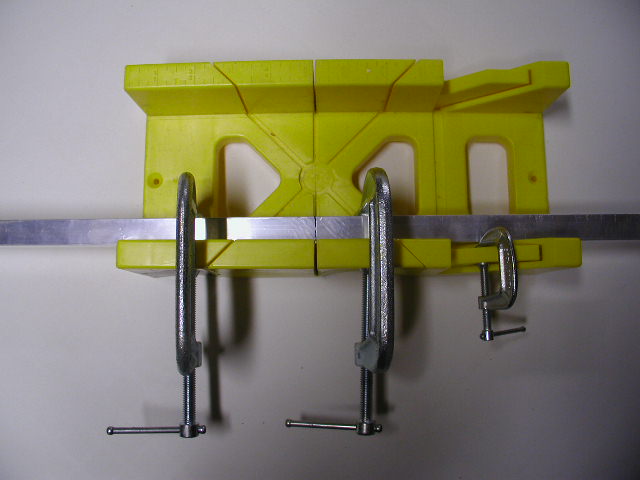 Aluminium in the mitre box for cutting.
Next, three equidistant marks were made on the bar centred on where the notches would be. Additional marks were made for the cuts of the notches, which would be about 1/2 inch wide (or a little more, whatever). The depth of the notches would simply be measured by the height of the hacksaw blade - when the blade was flush into the cut, stop cutting!
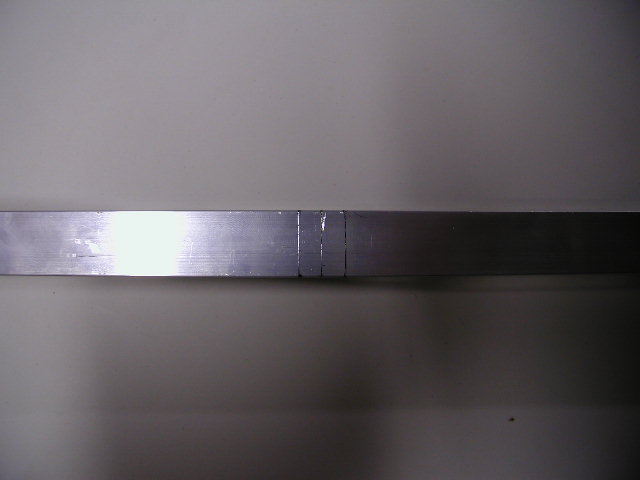 Marks for cutting a notch.
 Initial notch cuts.
With the hacksaw cuts made for each notch, you have to finish cutting the piece out somehow. A Dremel with a cut-off wheel is the perfect tool.
 Notch cuts finished with a Dremel.
 All cuts finished.
Once the notches are cut, the top of the bar can be drilled for the mounting bolts. 1 inch in from the end seems to be about right. Drill a tiny pilot hole in the top, then follow by drilling it with a 1/4 inch bit through the top and on through the bottom in one step.
 Marked for drilling.
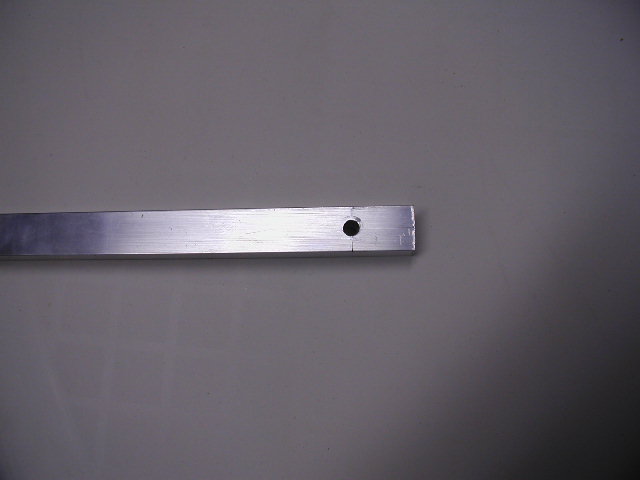 Drilled.
Now it's a matter of cleaning up the edges. Start with a good sharp 'flat bastard' file. Aluminium is very soft and easy to work with. If you've never done it before, practice on the scrap piece that you cut off earlier. For 'softening' and rounding the corners, and the initial cleanup of any burrs on the cuts, stroke one direction only (away from you). You can be more aggressive to clean up the inside of the notches, squaring the cuts and cleaning up any imperfections in the lower corners caused by the Dremel. Clean up the inner edges of the cuts with a little 'rat tail' file. Take it slow, and in a few minutes you can have both ends and all the notch edges smoothed. You shouldn't have any sharp points or sharp edges anywhere - if you can't run your bare hands over every surface aggressively without getting a cut/scratch, then it's not smoothed enough. You can use sandpaper to finish it, and/or use a fine sanding drum on the Dremel. An advantage of the sanding drum on the Dremel is that you can smooth the drill holes and give them a nice, subtle bevel. Again, practice on the scrap piece and always wear eye protection with working with a Dremel.
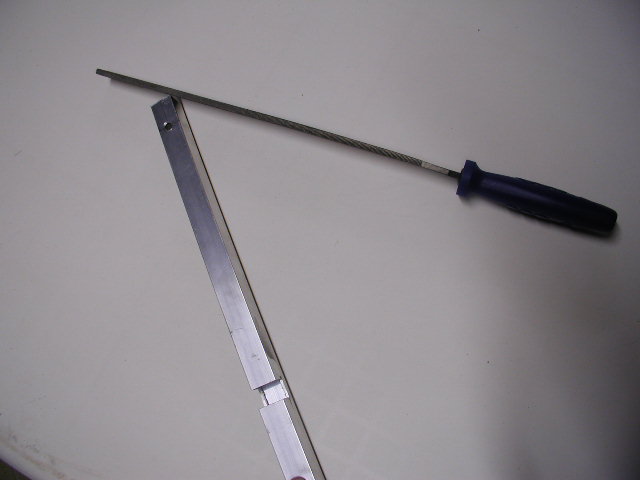 File.
File.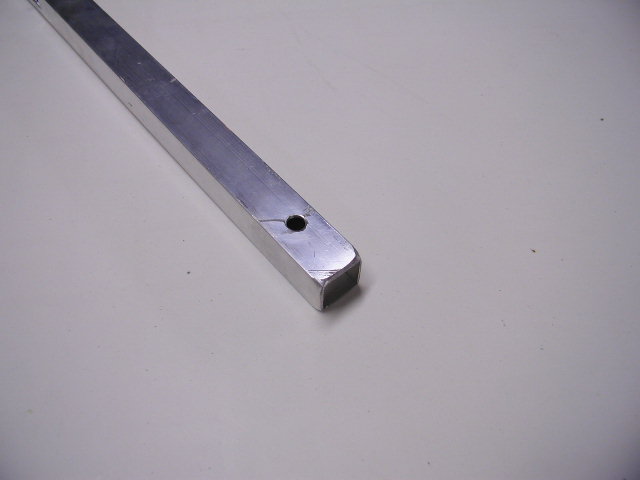 End dressed, corners smoothed.
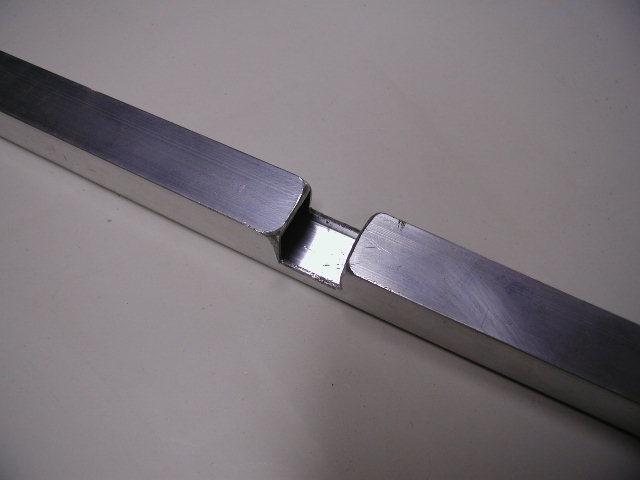 Notch dressed, corners smoothed.
When it's finished, you can clean it by flooding it inside and out with window cleaner (the usual blue ammonia stuff in a spray bottle). Dry it off, and give it a coat of good automotive wax to reduce the inevitable dulling and oxidation. Now you can snap the black plastic caps into each end of the aluminium.
The two 1/4 inch by 1.5 inch long carriage bolts and washer go in from the underside, with wingnuts on top. Drill the bolts about 1/4 inch from the top for cotter pins. Now, the washers slot into the roof bars and the wingnuts can be tightened down. Cotter pins are an additional safety to keep the wingnuts from loosening.
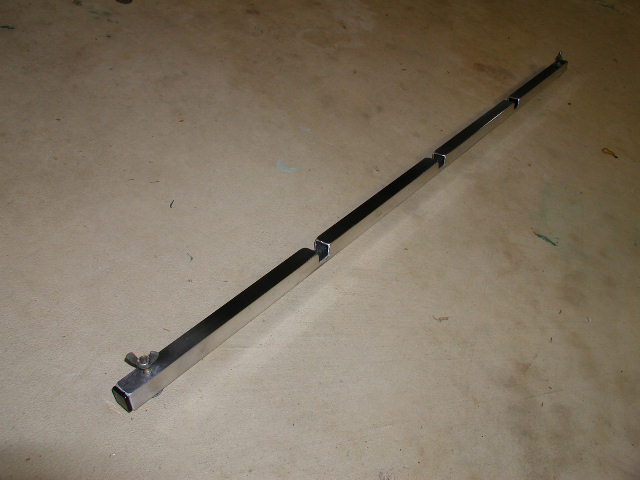 Finished product.
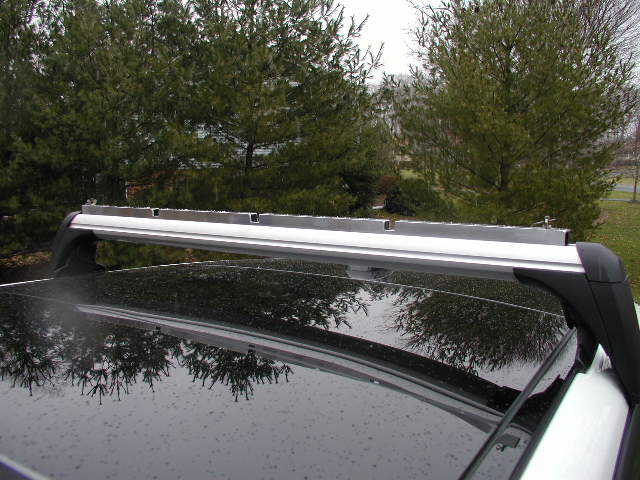 Installed on the rear bar.
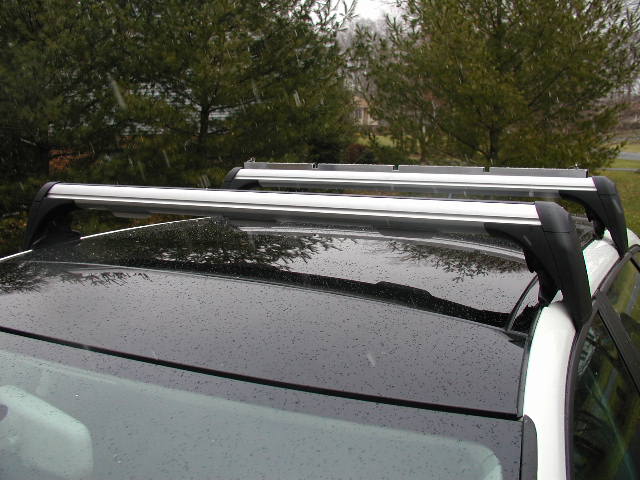 The full view.
 Closeup of the end of the rear bar and the new adaptor.
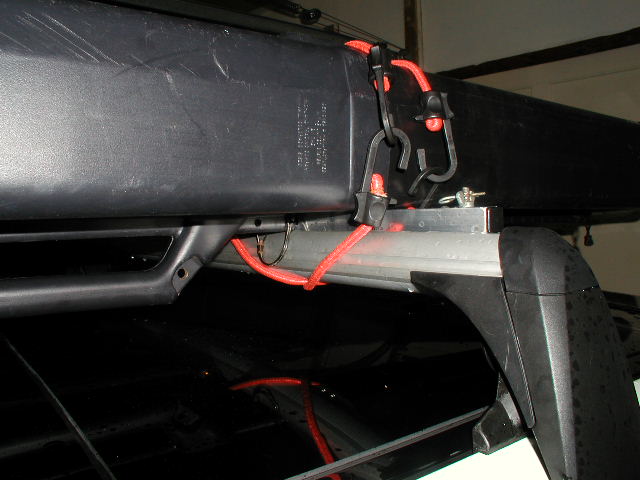 SporTube secured on the rear bar, in the notch.
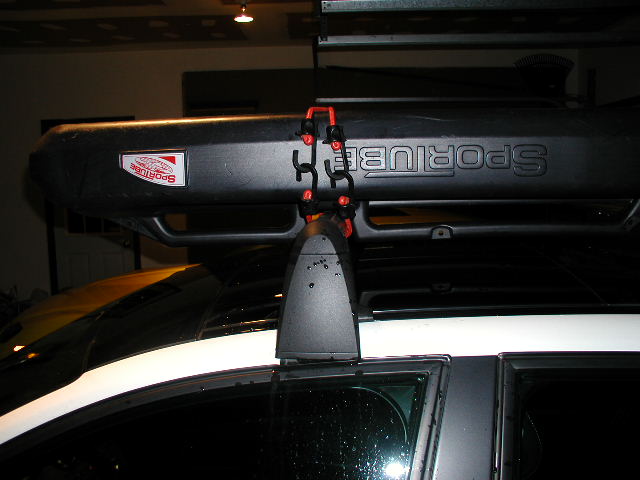 SporTube handle fits over the front bar, secured with bungies.
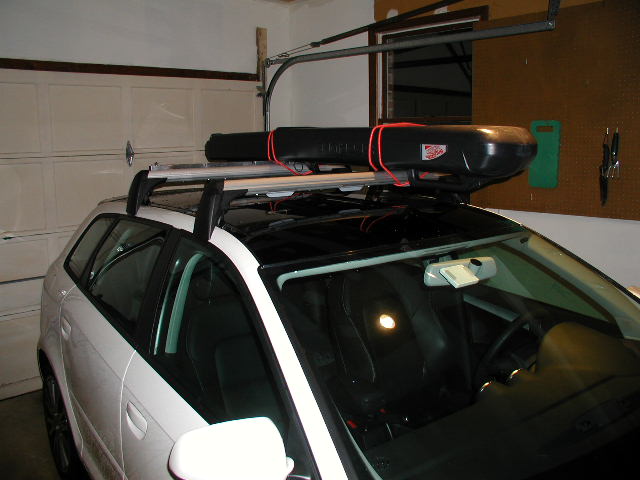

No comments:
Post a Comment