The dash rings are a nice touch to the A8/S8 dash. They can be procured from a few seperate sources, but these rings from www.tach-performance.de are some of the best looking. A few dollars more, but worth it.
Visit their "About Me" Ebay Page
Visit their Ebay Store
If you would like a set, www.tach-performance.de will ship worldwide and will communicate in English or German. Email tach-performance.de with a request for dash rings. The cost is $75.00 U.S. plus $16.00 U.S. shipping via airmail for U.S. customers.
tach-performance.de will take payment via PayPal. PayPal ID is: elke@cup-sport.de
Dash rings are available in polished, non polished or titanium finish.
The rings shown in this procedure are polished.
Installation
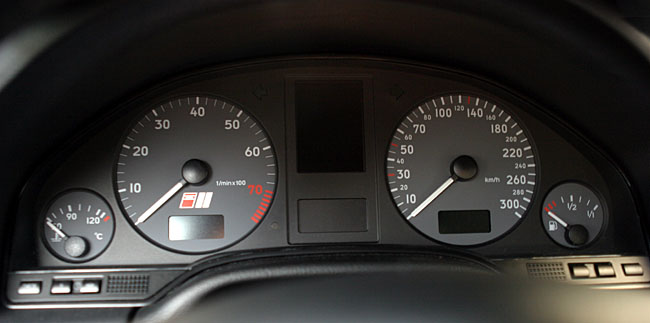
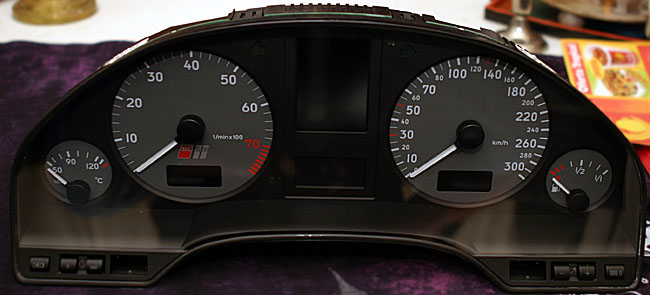
Before Picture with no Dash Rings
Taking out the dash cluster is pretty straightforward, just move the steering wheel all the way towards you and lower it as far as possible.
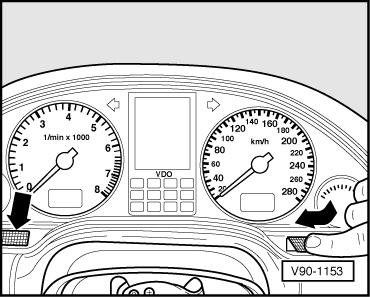
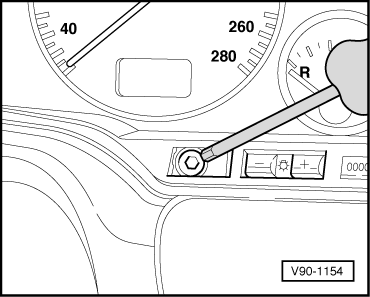
Remove the covers as shown above.
Now carefully pull the cluster towards you.
There are three cable connectors on the back, one on the right, two on the left. They are held in place by a clamp, you have to open this (they are hinged on one side) before you can pull out the connectors. Pretty self explanatory when you see it. They are color-coded, so don't worry, it's virtually impossible to mix them up later on. You might have to cut some tie-wraps on the wiring harnesses if the dash has never been removed before.
Out of the car, ready for the operation...
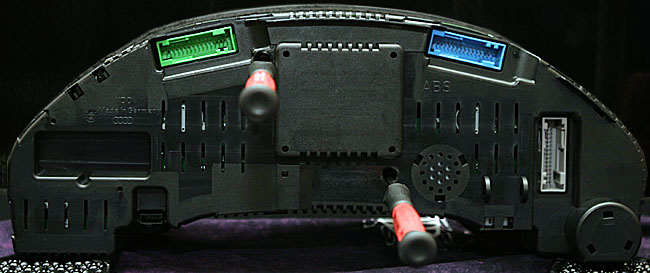
The back. The torx screwdrivers indicate the two torx #8 screws you need to remove.
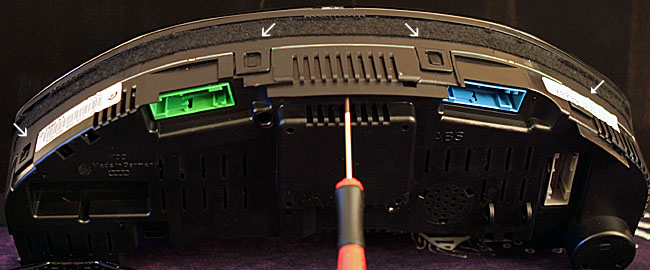
The white arrows indicate the clips you need to loosen. There's a couple more at the bottom, so an extra hand is useful.
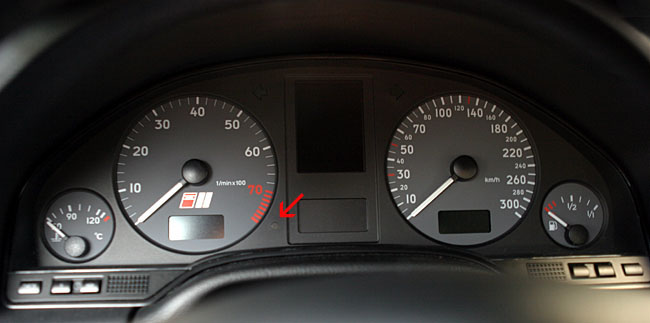
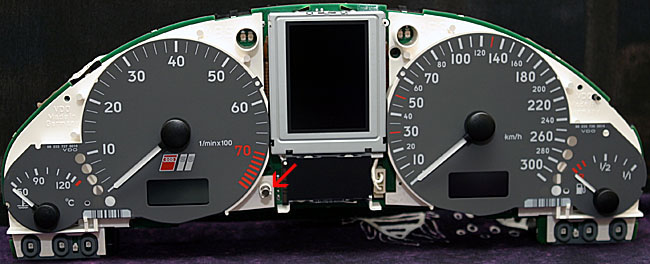
Pay attention to the clear plastic bit, indicated by the red arrow; it will fall out when you take the cluster apart! Put this part of the instrument cluster in a safe place, you won't need this for now.
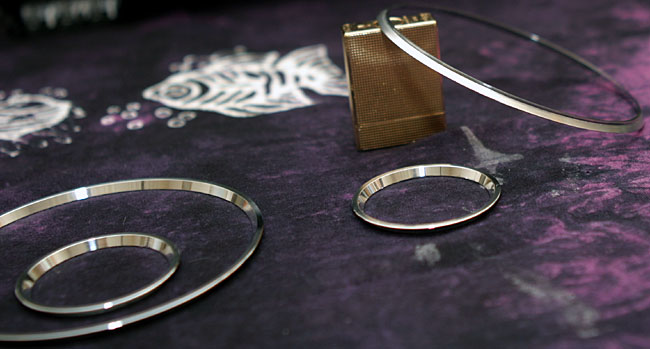
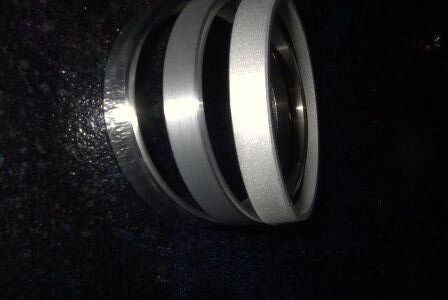
The rings. Note the sloped back, and the rim for the glue.
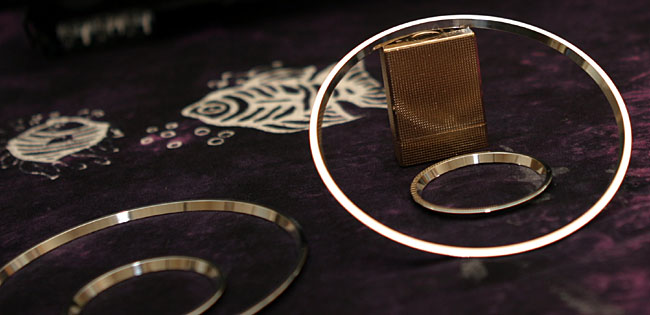
The front. These things are very well crafted.

The arrows indicate the rim where the glue goes.
Mighty Bison Power, must be good then, eh?
I found it very practical to use a toothpick to apply the glue. Just dip it in the glue, and let it slide into the rim. Easy enough, but you do need steady hand. (Therefore not recommended on the day after the night before).
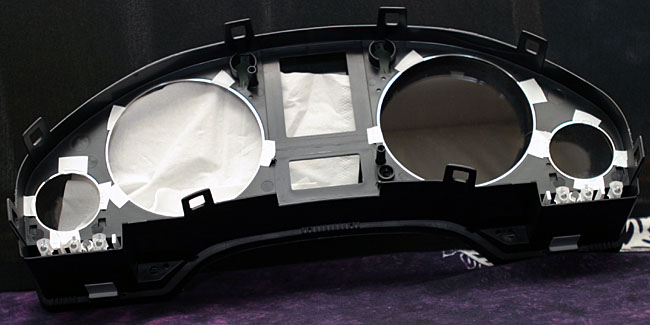
Let it dry for a bit (dependent on the glue you use). When the glue is dry, remove the tape and glue the parts that were covered by it. (You don't want to chance a rattle or the rings coming off after you reinstalled the dash so make sure they are firmly fixated.)
When that's dry, reassemble the cluster. (mind the plastic bit and the two torx screws).
No comments:
Post a Comment