Disclaimer: You mess up your car, yourself it's not my fault.
I bought my kit off ebay from just-intercoolers who are also cxracing.com. On ebay you can choose the piping, silicon couplers, and clamps from a big list. I choose to go with 2.25" aluminum piping. I have a k04 in the car and lost about 1 to maybe 2 psi. The car does feel quicker however.
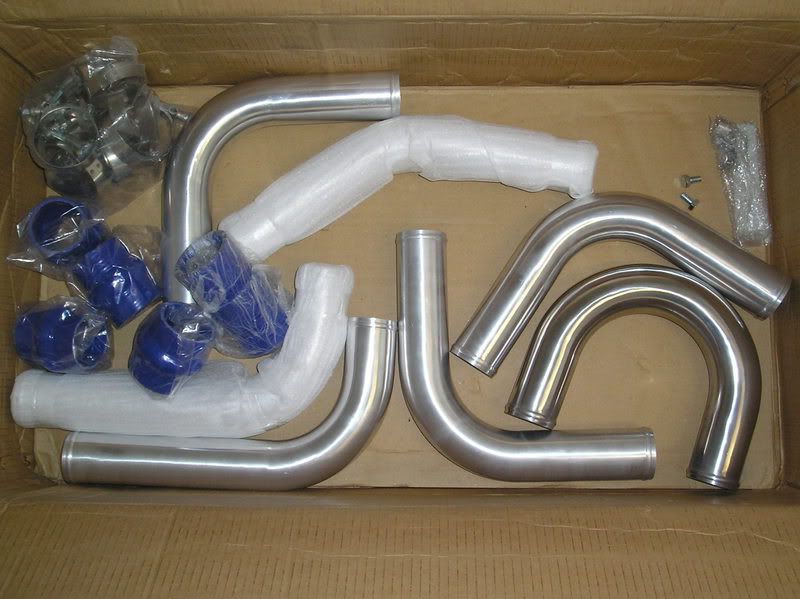
The piping: With my kit I choose to get 3 short 90 degree pipes, a 45 degree pipe, a u pipe, and 2 long 90 degree pipes. I ended up buying more pipes then included in the original kit but the cost was minimal and I wanted to make sure I had enough to do the job.
The couplers: I choose to upgrade all the couplers to hump hoses except for 2 2.5"-2.25" reducers which I needed since the outlet on my FMIC was 2.5"
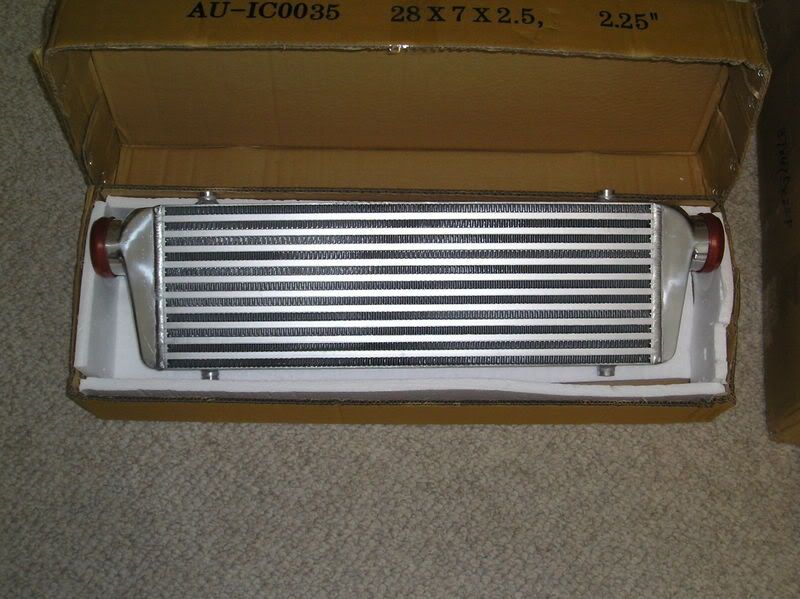
The FMIC: My FMIC is 28x7x2.5 with 2.5" outlets.
My install. I installed this setup on my 98.5 a4 with a reiger rs4 bumper. I ran the piping to the stock rubber hose coming off the tb, and the one coming off the turbo. In the future this will probably be changed and I will relocate the dv but for now it is working well. I helped to install another fmic this way and it held up fine.
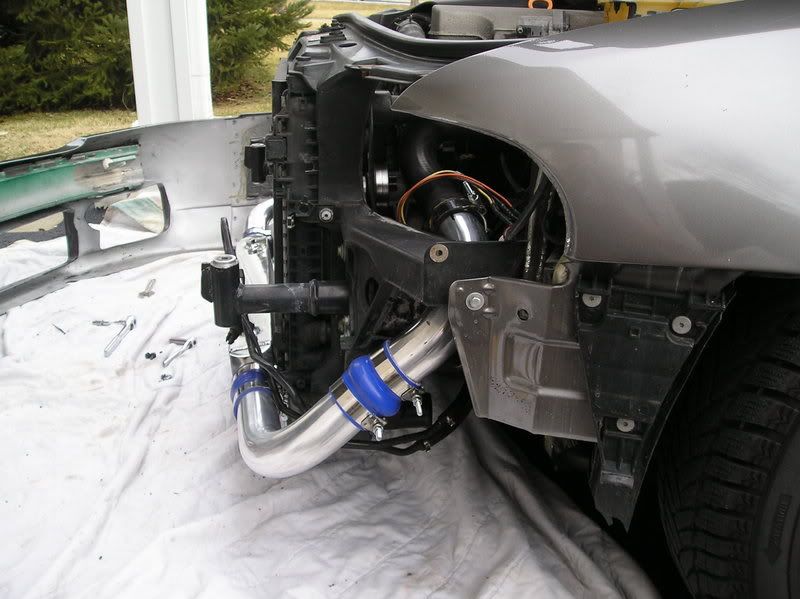
Here is how I installed mine. Like I said there are probably a million different ways to do this. Obviously first start by taking the stock bumper off. Then disconnect the hoses on each side of the car going to the cross pipe. You also need to disconnect the hose from the top of the smic. You can access it by removing the driver side headlight. The tabs on my were broken so I just wiggled it out.
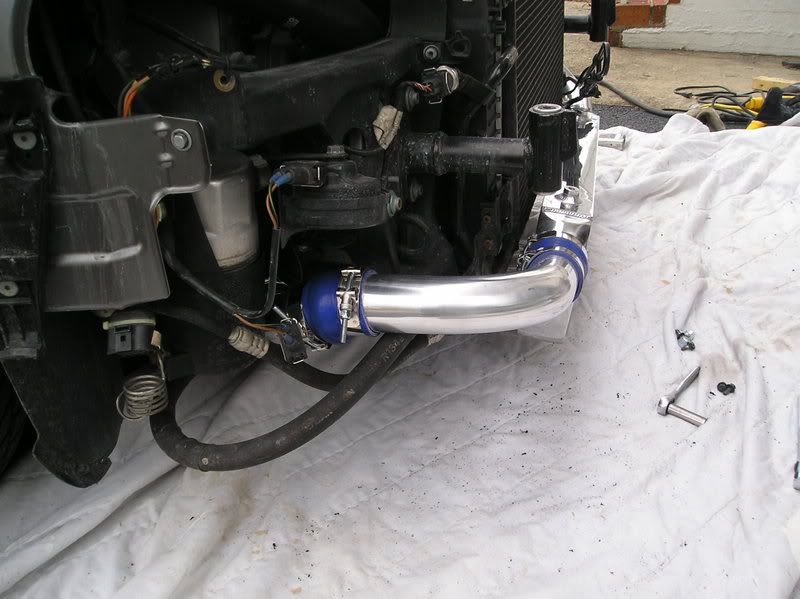
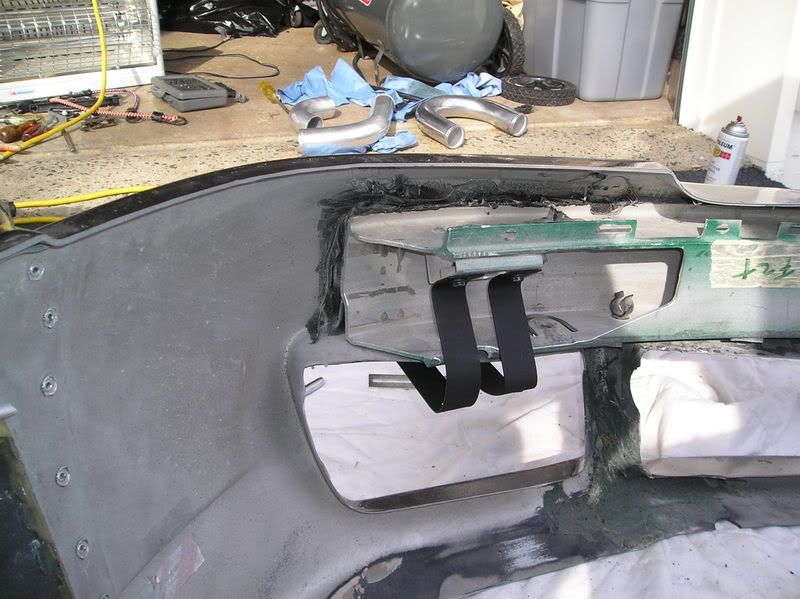
The cross bar to hold my fmic is connected to the upper ac mount. I cut a piece of a bar to size, drilled holes in it to use the stock bolts, and then mounted it with washers behind bar. I may in the future buy longer bolts and space the bar out a little more. I then made two bars that will attach to the intercooler. I made the mount out of steel so I needed to heat up the metal in order to bend it. To do this I used a map gas touch.
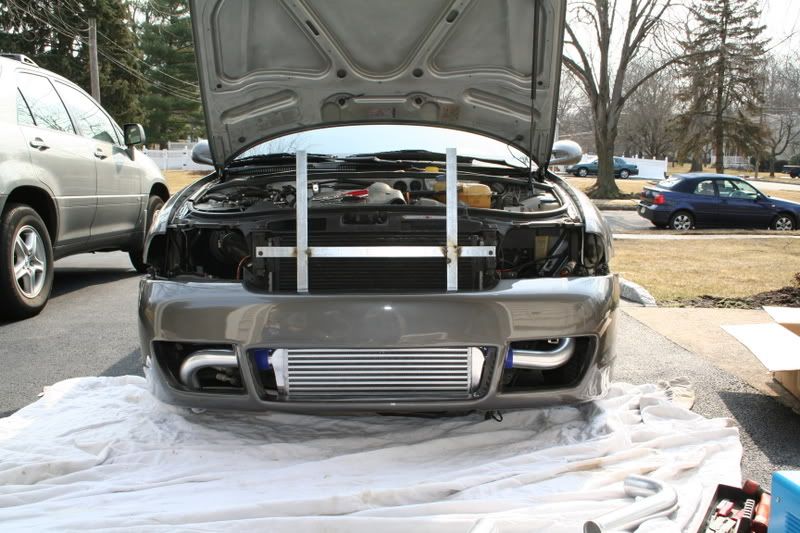
When mounting the front mount I tacked the bars into place to hold them. You could clamp them instead. This took some trial and error since the center of my car was different from the radiator to the bumper. Leave the bars long at this point till you are done.
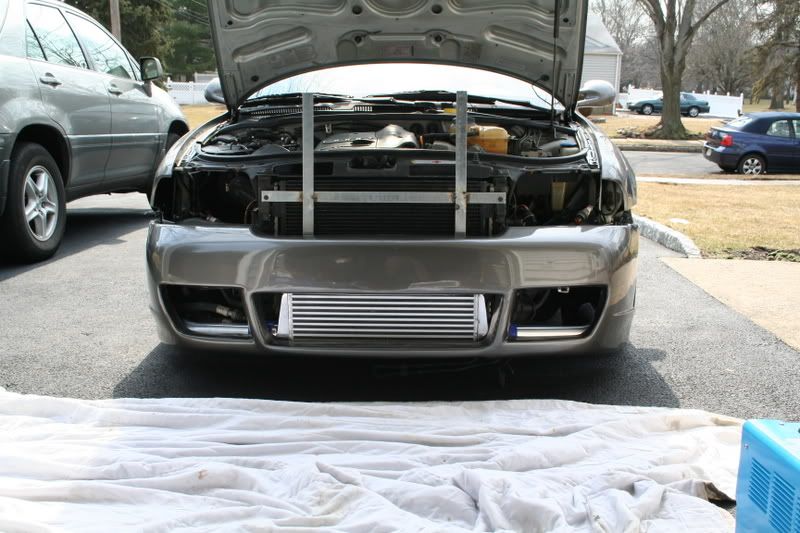
Next you can begin to run your piping. This took me a long time. I started out with this idea.
I ened up having to change it since I would have had to hack too much of my bumper to make that fit.
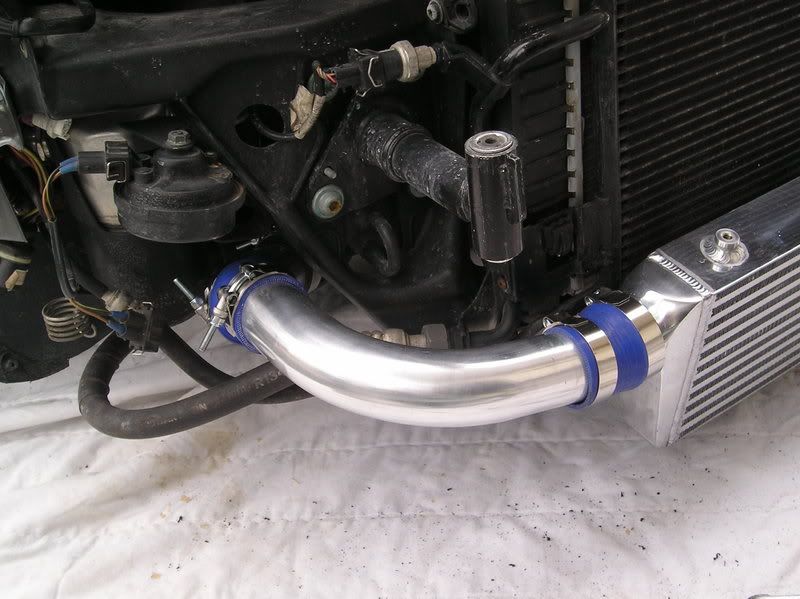
For the driver side I ran a 90 degree pipe to another 90 degree pipe then into the tb hose.
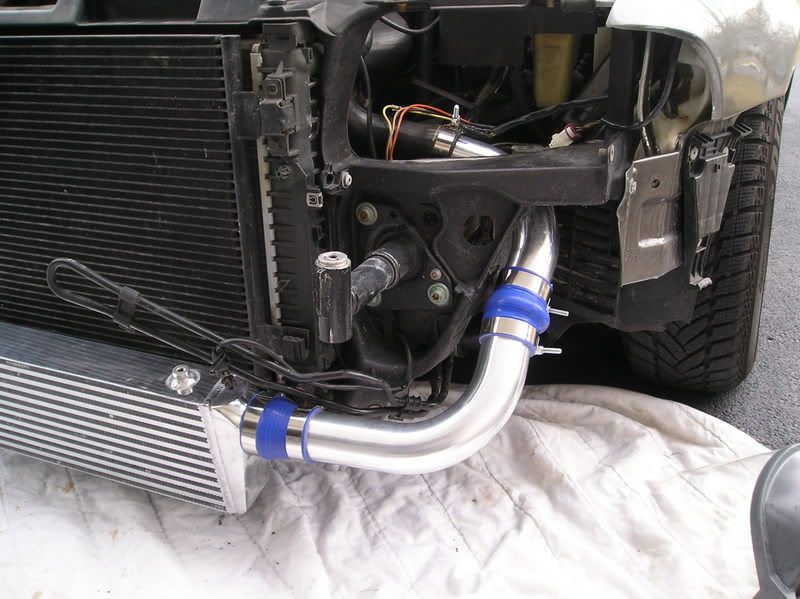
I did have to make a slight relief cut into the car near where the hump hose is.
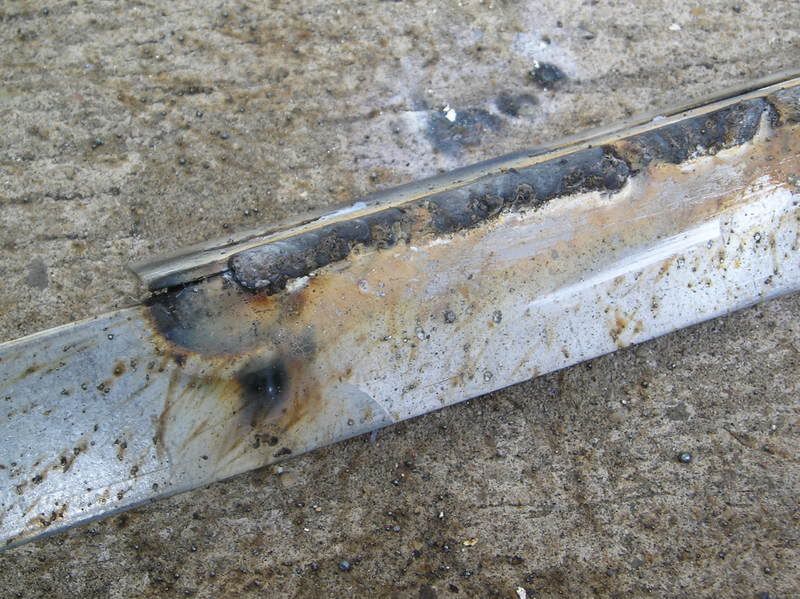
Running the piping takes a while and a lot of cuts. Patience, which I lack, is key. Make sure to debur the pipes and to clean them of metal shavings. When I was test fitting I just whipped out the ends but once I was done I washed and scrubbed out all the piping. I then let them dry before installing on the car.
I then did the passenger side which is bit trickier. I went with 90 degree pipe into a short piece of the 45 degree into the stock.
This side is tricker since you have to deal with ac line, and horns. With the setup I have I can only run one of the horns. You could also replace the stock horns with an air horn if you have no room. I didn't have to trim the car on this side.
To fit the piping into the stock hoses easier I used a vice grip to grab the hose. I then put the pipe in using the vice grips as leverage. Be careful to not tear the hose or put a hole in it doing it this way. You could also lube it to make it easier.
With the piping pretty much done you can start to fit the bumper. With an s4 and this setup I doubt you would have to touch much of the bumper but don't quote me on this. With the reiger I had to cut all the tabs off my rebar and also trim the bumper itself for the piping to fit.
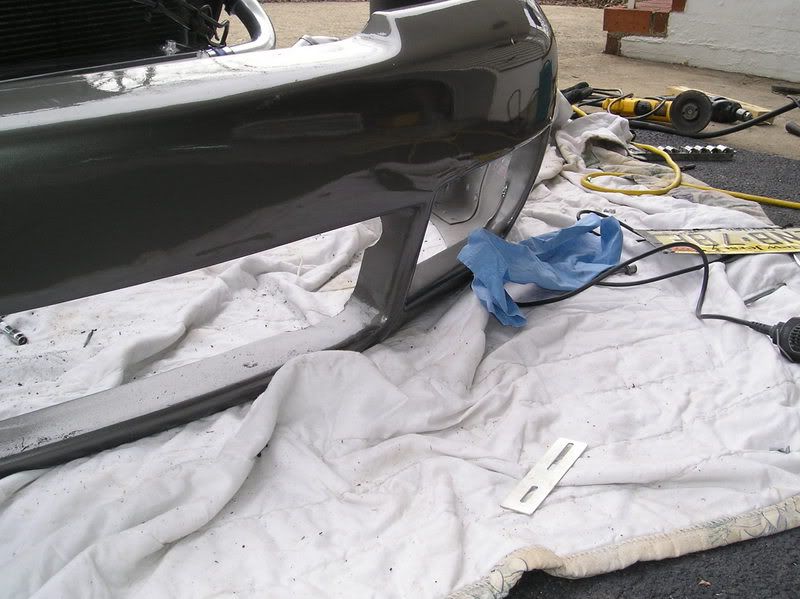
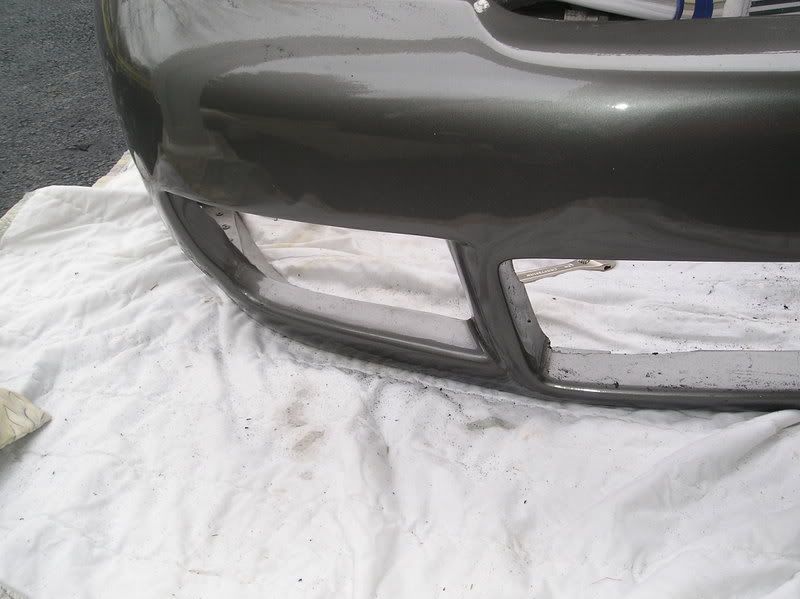
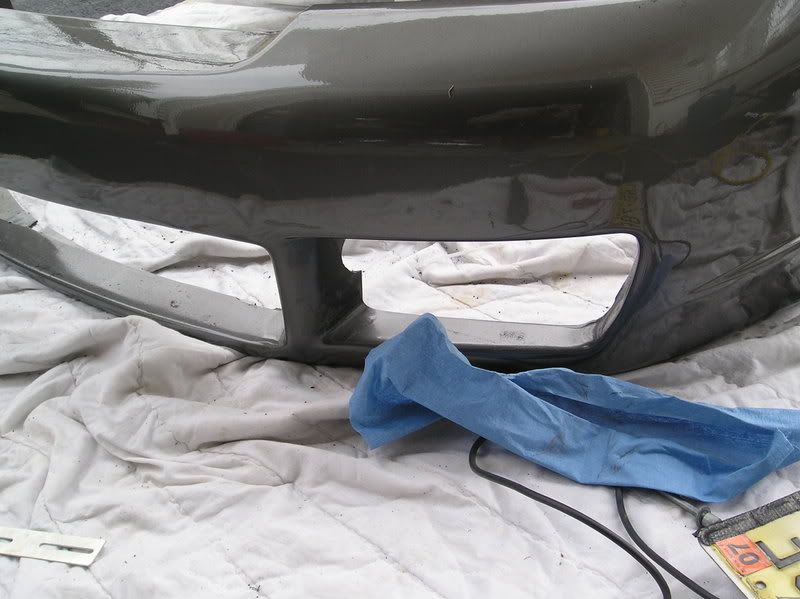
I probably took the bumper off and on the car at least 25 times throughout this whole process. I went slowly with my cuts though and didn't want to cut too much. I also had to cut the bottom of the bumper to fit the bottom mounts to the intercooler that I am not using, and also to fit the edges of the intercooler.
Once I finished fitting the bumper I took my mount off that was just tacked and welded it. I then painted it so it would blend in with the car.
My state requires a front plate. Since I had to cut all the tabs off my bumper I had to figure out a new way to mount it. I came up with this.
They are always visable and then I made another mount that is attached to my liense plate. I can take the plate off and put it back on in about a minute.
To get my bumper off and on I have to disconnect the front fmic pipes in order to get the front torx bolts into place.
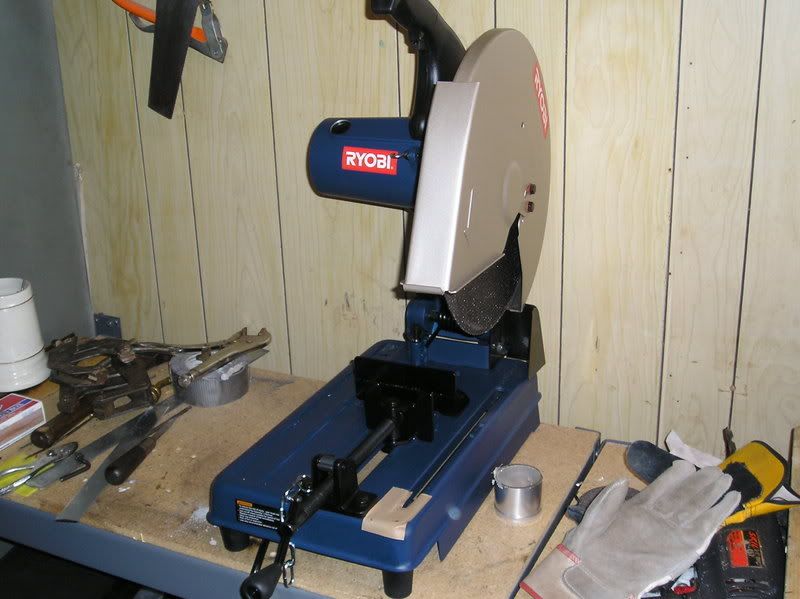
Tools I used: I used basic hand tools, 10mm deep socket for the piping clamps, dremel for the bumper, grinder for the reinforcement bar tabs, welder for my mounting bar and license plate mount(but you could just as easily just use bolts), chop saw with I bought to cut my pipes(any metal cutting saw would do, or grinder), file to debur the pipes, drill vice grips, marker, map gas for bending the metal mounts
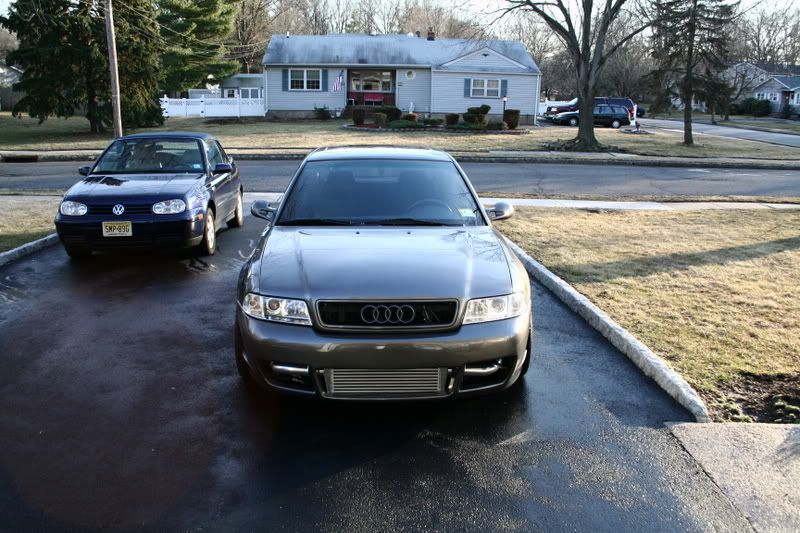
This was a god send.
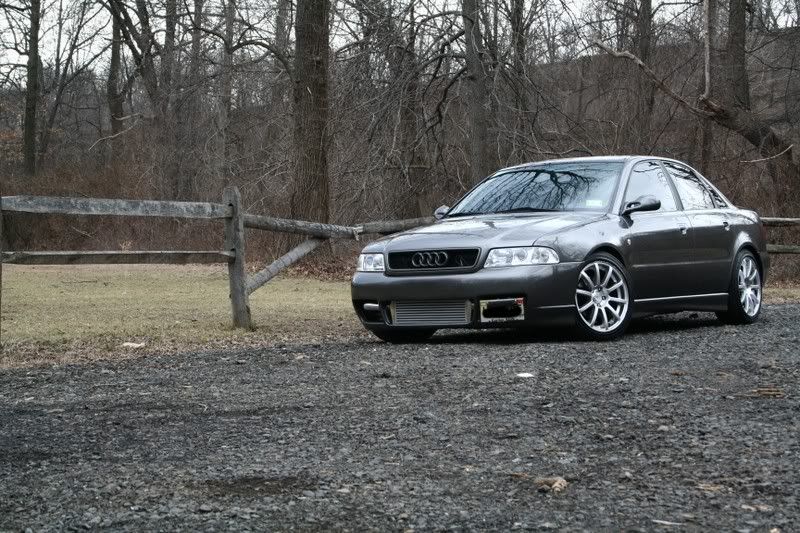
And here it is done.
With plate:
Without plate:
No comments:
Post a Comment