Part Numbers: 8D0-411-318D 8D0-411-317D
Disclaimer: Not my fault if you mess something up.
Approximate time: ~30 minutes per side
Tools needed: 16mm wrench and socket, 17mm wrench and socket, 18mm wrench and socket, flat head screw driver, and you may need a hammer,
1. Put front of the car on jack stands
2. Remove front wheels.
3. With the older style uplinks remove the two 16mm nuts on the uplink.
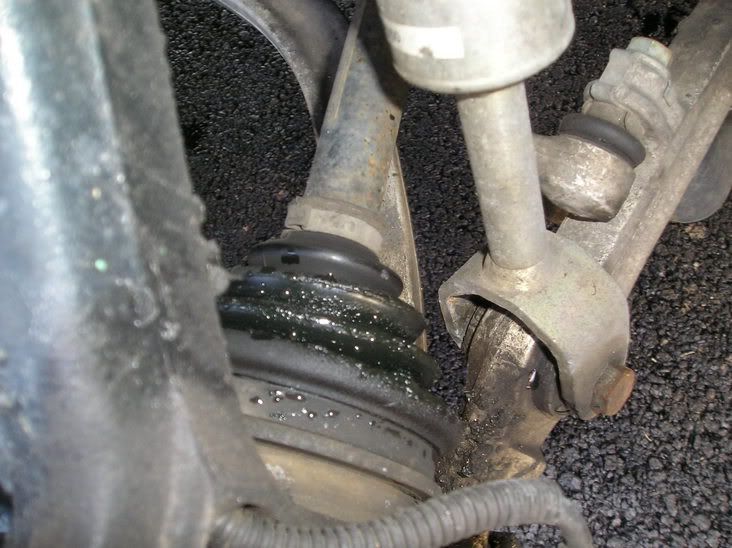
4. In order to take the older style uplink off you must remove the lower shock bolt and move the shock forward. The shock bolt is 18mm and the nut is the same.
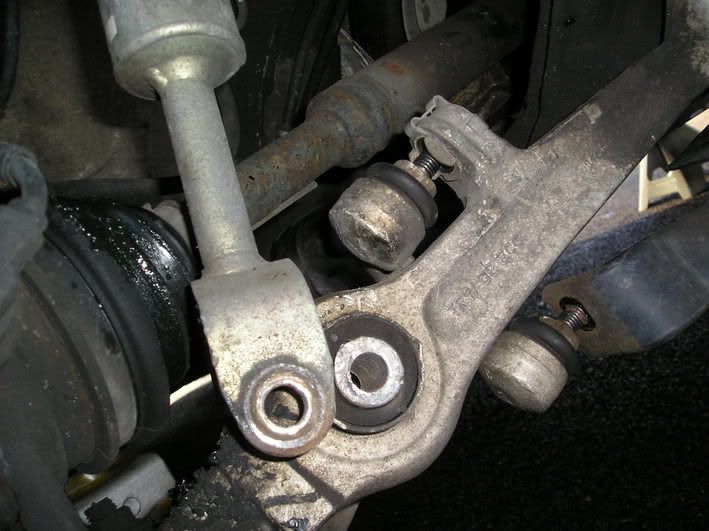
5. Once you have done that pull the uplink off. You may have to hammer on the bolts a bit to break it free.
6. Remove the metal clip. You may need a flat head screw driver to do this.
6. Next step is to put the new links on and tighten them down. The nuts are 17mm the bolts are 16mm.
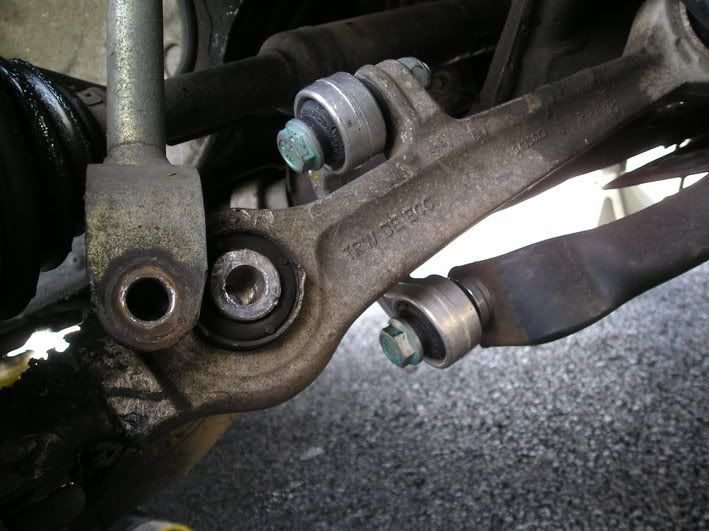
7. Now reinstall the lower shock bolt and you're done with that side. Do the other side the same way and your all set.
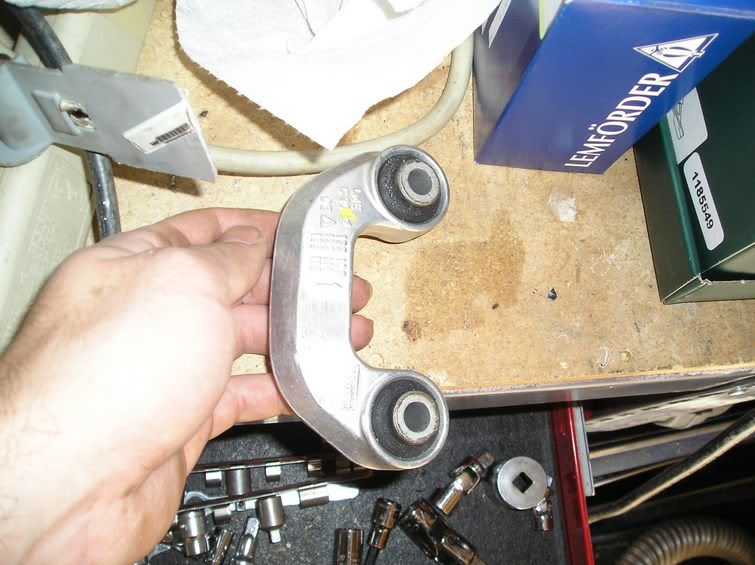
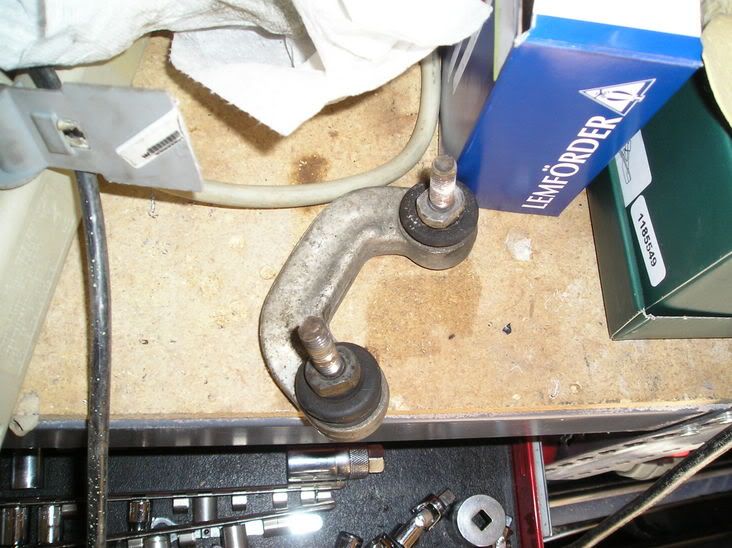
This is what you should be left with.
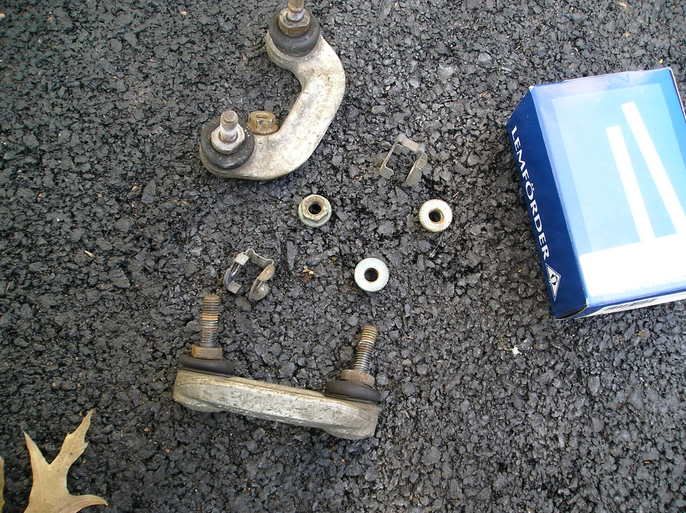
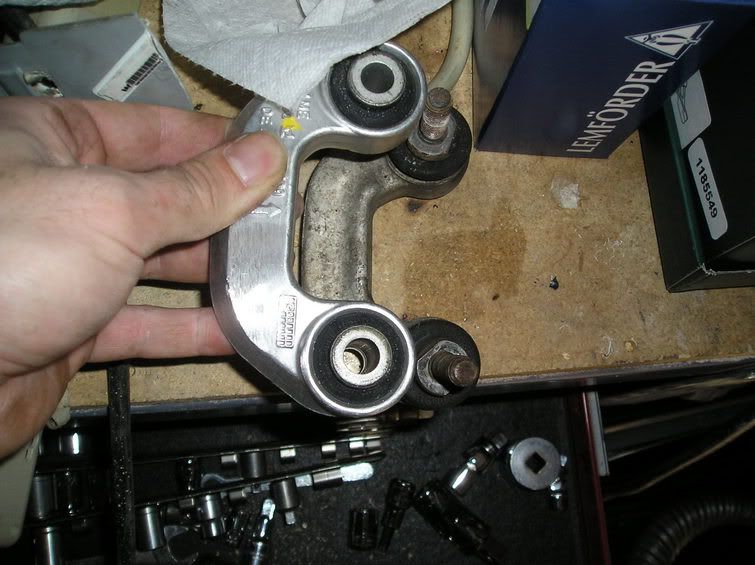
Just by comparing the two links you can see how superior the new ones are. The old style allows the bolt to wear out a lot faster it looks like and mine were able to be moved by hand. The new links won't even move much with a screw driver through them. I also noticed that although the new ones were bigger it also appeared that the holes were spaced slightly further apart.
Once the car was on the ground I noticed if I put weight on the front of the car it would move. Before it was as solid as a brick.
No comments:
Post a Comment