Before i start, i want to remind everyone that i already have an aftermarket dv in (hyperboost) so some of the steps might be slighty different. But ask me and i will help you.
Total time: Atleast 4 hours for a first timer. Once you did it once then it becomes easier but the problems will still be there.
What you need:
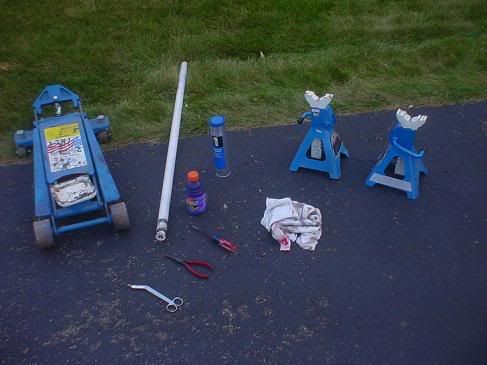
A jack, jackstands, Mobil 1 synthetic grease (for cleaning of dv), Needle nose, flat head screw driver, something to cut with, a rag and something to drink.
I like to take my headlight out because it will give me more light to work with. Light is going to be important on this job because light is an issue on the job. It is hard to see under there.
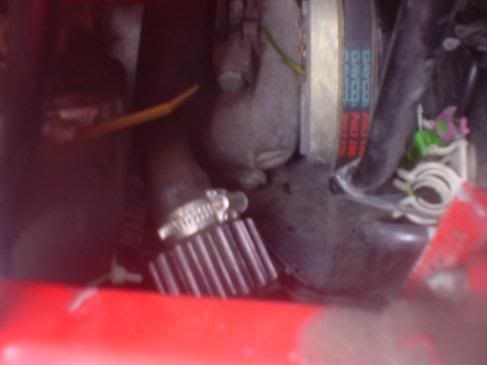
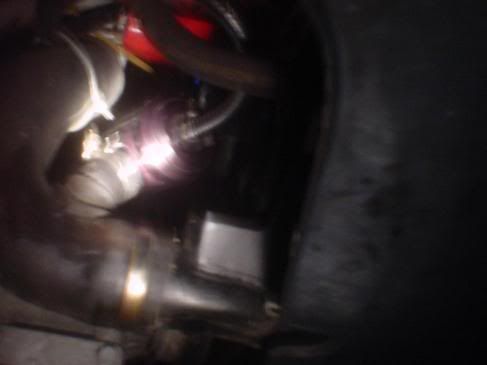
Once you get the headlight out you 'should' be able to see your stock dv. If you have the stock airbox in its going to be hard to see. Its almost camo down there so when you have to look very hard to see it. But its down there. Mine was pretty easy to see.
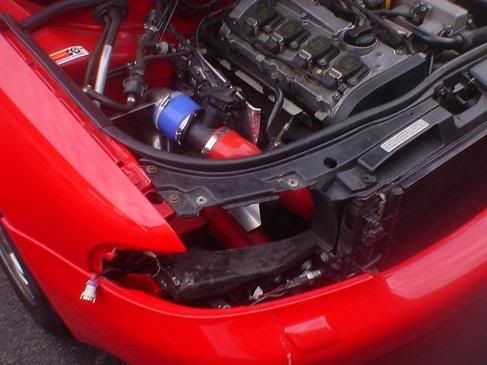
View from top.
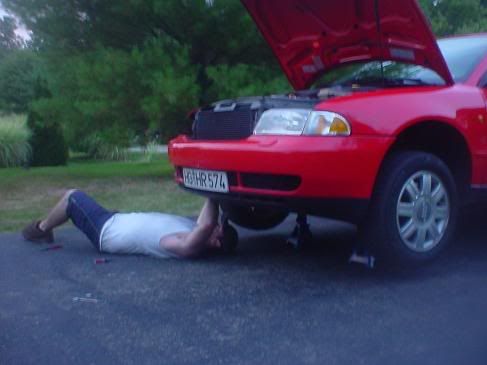
Now its time to jack the car up. I jacked the car up with the center piece in the middle of the car. Then i used the frame to hold the jack stands.
Should be like this.
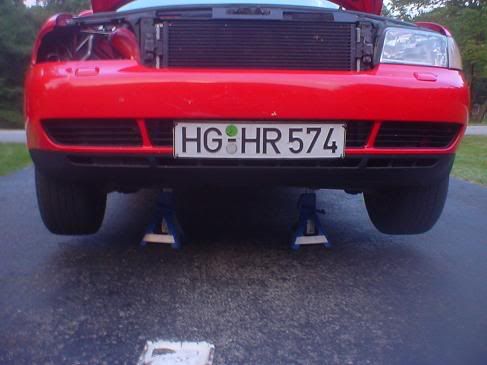
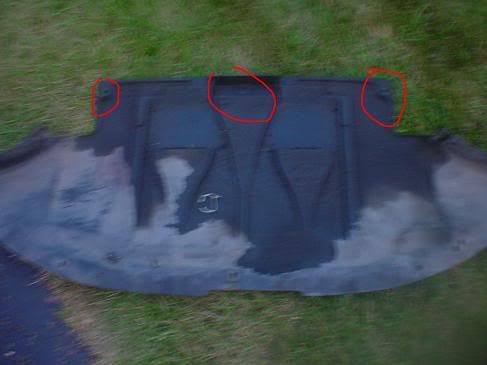
Now you need to get dirty and get under there. Your gonna get dirty, so face it. So there should be 3 screws down there holding the plastic skid plate on. You need the flathead to unscrew them but they pop right out
Next its time to find the DV. It on the passenger side right in front of your face. You cant miss it. It will be right here.
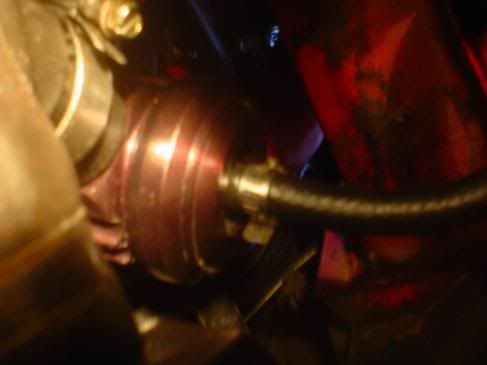
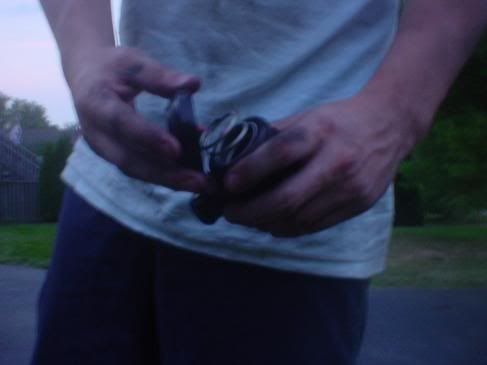
Notice. The clams on the stock dv will not have screws on them. They are pieces of metal that are pinched to make them tight. They are the biggest pain ive ever seen in my life. You will have to take a screw driver or something to pry them open a little bit then get something to cut them off. This will take the most time of it all. Be prepared. The stock hose clamps will looks like this.
Your gonna be in the postion for awhile.
(Pagerman shows himself!  )
)
Once you get the DV out (if aftermarket) you are gonna wanna clean it.
How to clean it.
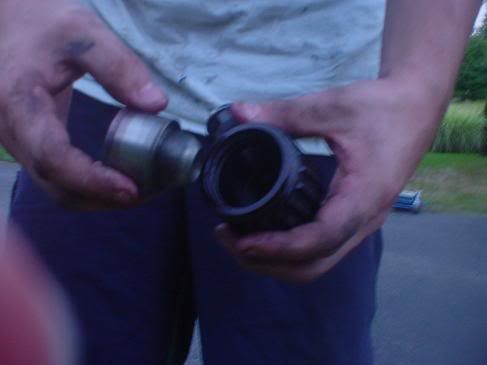
You unscrew the top. (This will take some serious arm power. Its on there very tight)
Next take out the metal piece.
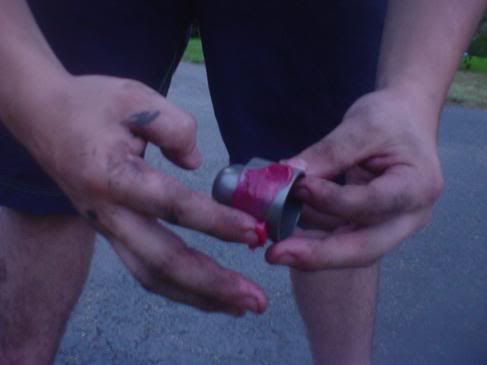
You'll need to clean out the old grease inside. Take a rag and clean everything up inside it.
Once its clean its time to add a new coat of grease. Take out the Mobil 1 grease and get 2 fingers worth. Take it and spead it the whole way around the metal piece. Just a light coat.
Once you lube that also take a thin layer inside the dv. Just a light coat again.
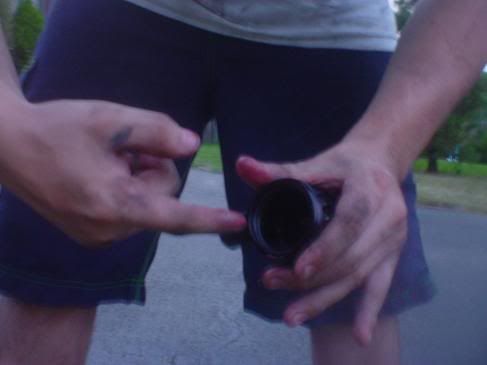
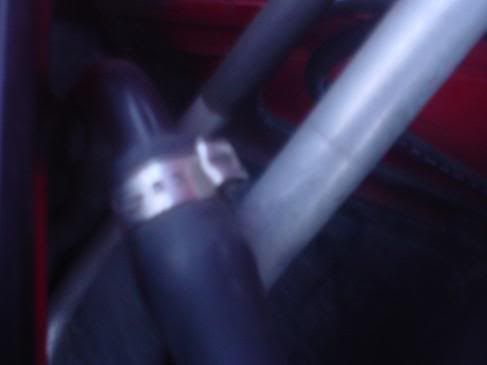
Now screw everything back on and get ready to install it back in. Its really alot easier to put it back in once youve got new hose clamps with screws on them.
Another notice! If you have a hyperboost dv theres a good chance that your going to have to buy a new vaccum line because the stock vac line is crap and wont fit. Take your dv to lowes or home depot and see what hoses fit. I went and bought a fuel line. It only cost me 7 bucks and it fits pretty good.
Its alot easier to put it back in than take out but its no cake walk. You're gonna get mad. Its a fact.
Once its back in check for tightness on everything and put the skid plate back in the same way you took it out. Not a hard job once you get it lined up right.
Now let the car down slow and you should be done. Its not the best DIY but i think everyone gets the idea and such.
If you have any questiosn, ask me. 
Have a nice day 
No comments:
Post a Comment