NOTE: 034 sells hardware for the mount but it is seperate. I suggest getting it but is not required. I went to a hardware store and picked up 2 8mm bolts, nuts and some lock washers and used the original middle bolt.
Total Time: 45min-1 hour (Depending on how fast you work)
Tools: 13mm Socket
15mm Socket
16mm Wrech
Breaker Bar (helps a lot but not required)
Pry Bar
Thread Lock
Jack, 2 Stands, small wood block
**You will notice pink markings around the outer 2 bolts. They are not necessary. Just used to better show the location**
-First step is to jack up the front end of the car and support it on both sides. Granted you are just replacing the pass. side mount, but you need all the working room you can get.
-Once under the car you will see the mount on the left side, just in front of the drivetrain stabilizer bar. (Sorry the pic is blurry, but you get the idea.)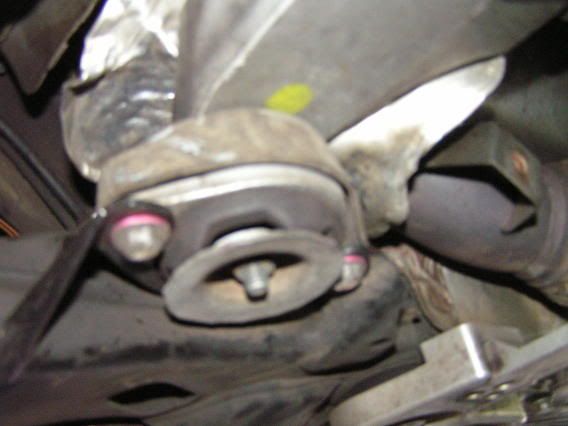
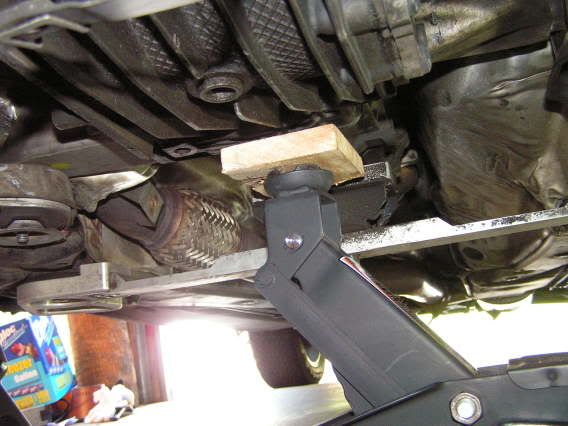
-After you locate the mount you will need to support the transmission. Make sure you use a small piece of wood between the jack and the transmission. Do not raise the tranny more than a hair. Also if you have an aftermarket DTS you will just need to loosen the 2 center bolts that support it to the trans. No need to remove it.
-Once you get the trans supported you can get to work. The first thing you need to do is bend back the heat sheild behind the mount as far as possible. This is where the pry bar comes in. You need all the room you can get to access and remove the middle bolt.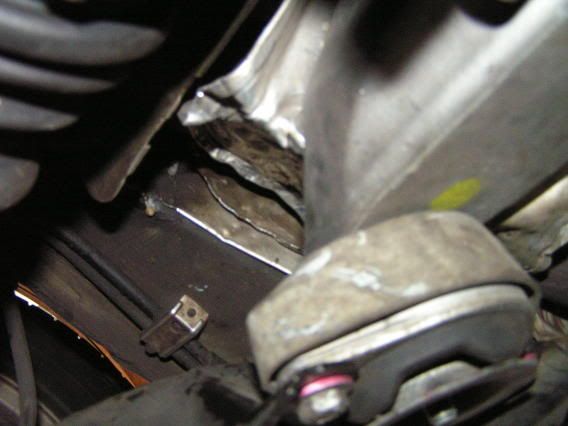
-Then remove the outer 2 13mm bolts. They might be a little tough but thats where the breaker bar helps.
-Once those 2 are out use your jack and raise the trans up just a little bit more. It will give you more room to work the stock mount out.
-After raising the trans you will need to get a 16mm wrech on top of the middle mount bolt. Then use the 15mm socket to unbolt it. Again breaker bar will help a lot.
-It may take some work to wiggle the mount out, try to tap the bolt up and out with a screw driver.
-Finally after the middle bolt is out the old mount will slide out.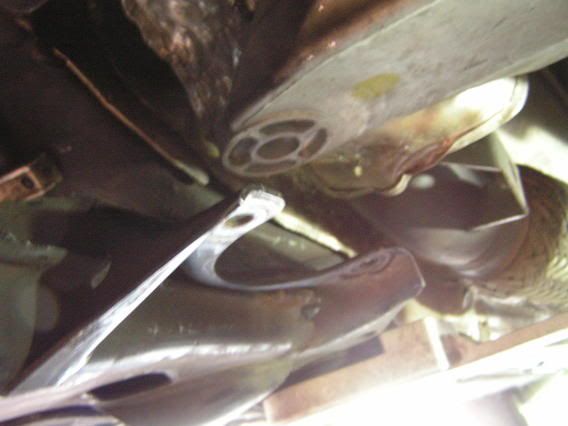
-Grab your new mount. (Dont forget the washer that fits inside the top of the bushing**not pictured**)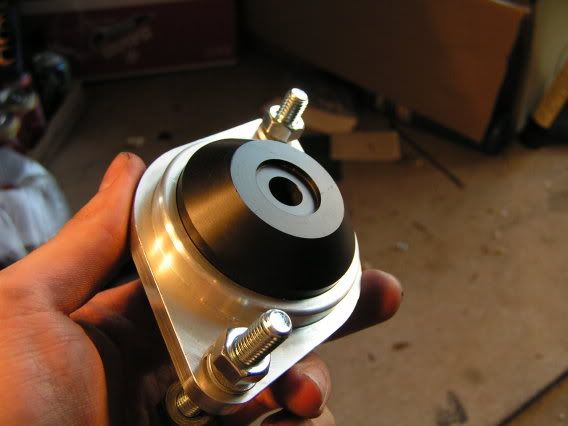
-The mount goes in bushing side up. Put the middle bolt threw first and hand tighten the nut. Then release all support on the trans. Once that is done fully tighten the middle bolt. (Use threadlock!) You will notice there is now about a 1/4-1/2in gap between the mount and the frame. This is because the new mount allows for NO transmission movement at all. So all that extra room was just slack for the stock mount.
-Install the outer 2 bolts, make sure they are tight and that the mount is on the frame. (Use threadlock!)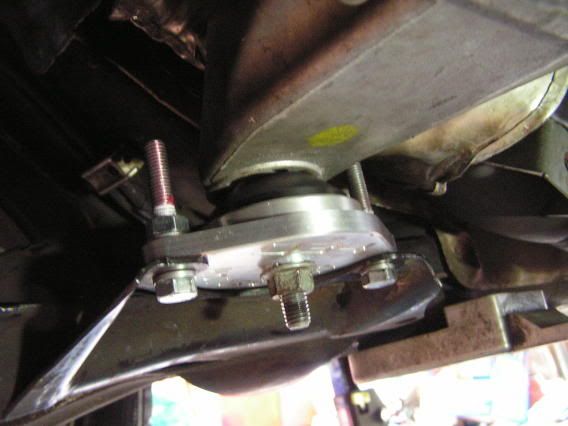
-Bend back the heatsheild. You can do it by hand, just use gloves.
-If you have an aftermarket DTS tighten it back up.
FINISHED!
REVIEW: The mount is great but there is a good amount of vibration. Which doesn't bother me too much but may others. But I do have a snub mount, RS4 engine mounts and a DTS on top of it so it all adds up. The shifts are a lot cleaner now, there is ZERO drivetrain slop. Removed a lot of the difficulties I had going from 1st to 2nd as well. Overall very worth your time/money if you can get over the vibrations.
UPDATE: After a week of driving, the RS4 mounts and tranny mount seem to have settled and some of the vibrations are now gone.
No comments:
Post a Comment