Note that all credit for this "mod" goes to Herve from Switzerland, who got his 3.2 TT a few months ago and decided that the placement of these buttons in the center console didn't make sense. So he swapped them and wrote a procedure here but without pictures.
Today, I bring you a fully-documented and pictorial procedure on how to do this:
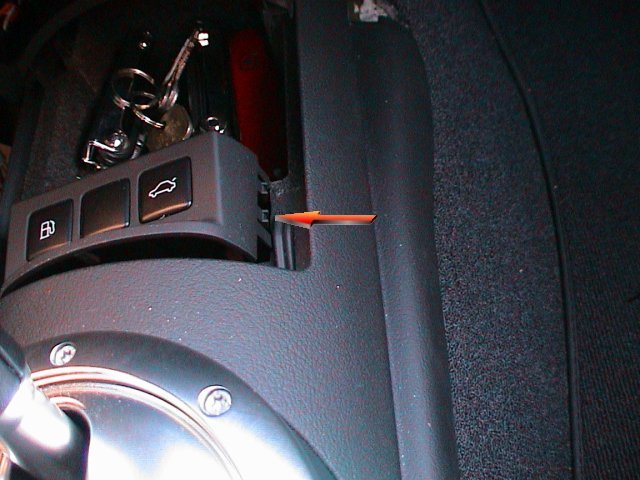
1) Lift the buttons' holder, which is simply snapped into the center console by 4 little tabs shown here:
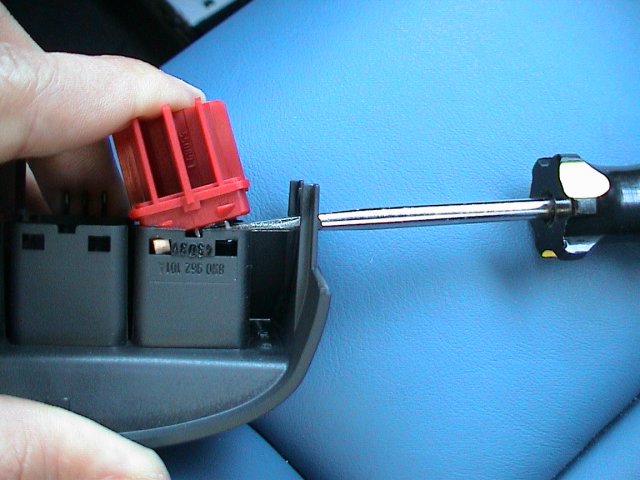
2) I was able to lift it from one side with my fingers, but I guess you could also use a flat-head screwdriver as well:
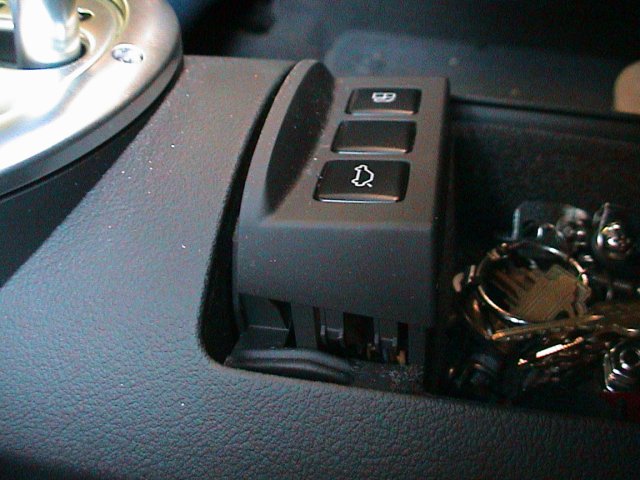
3) Lift the other side of the button-holder and give some slack to the wiring harness:

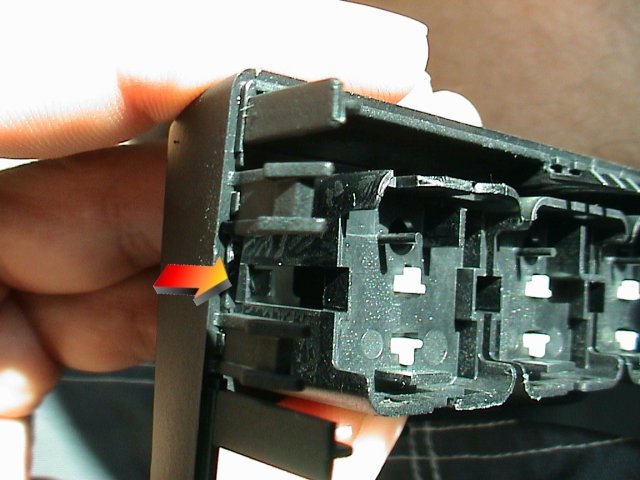
4) Release the connectors by pushing the little tab in the direction of the arrows:
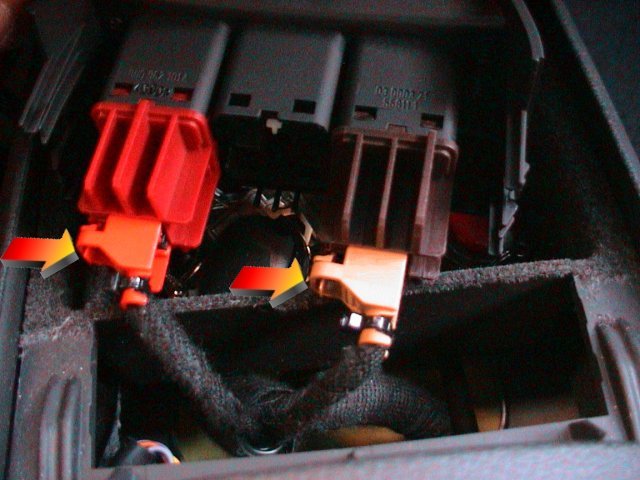
5) Repeat for second connector:
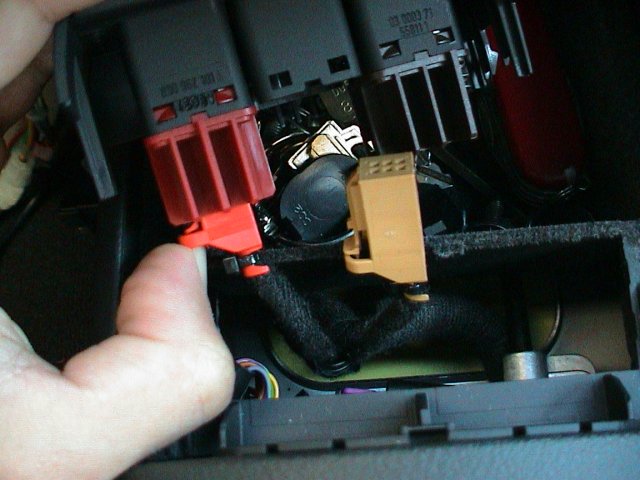
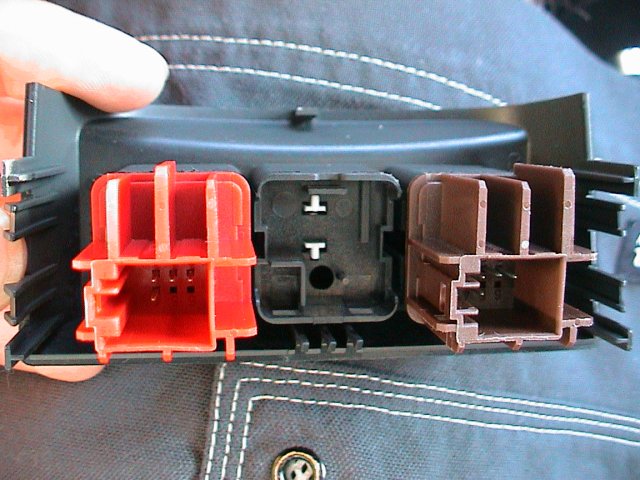
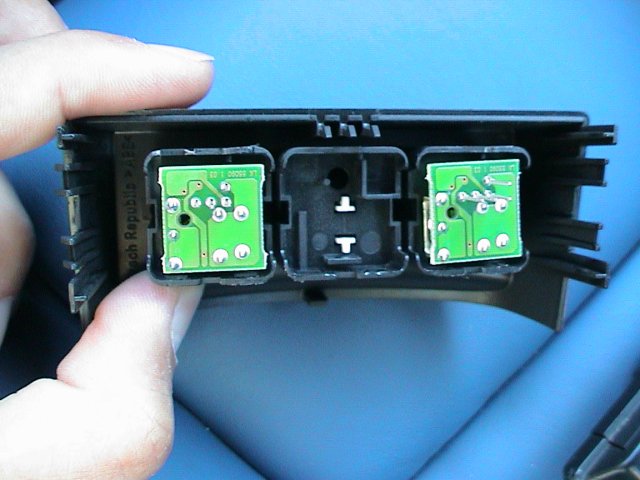
6) This is what the connectors look like - note the color corresponding to the button (red for gas cap, brown for trunk) trust me you'll need that later:
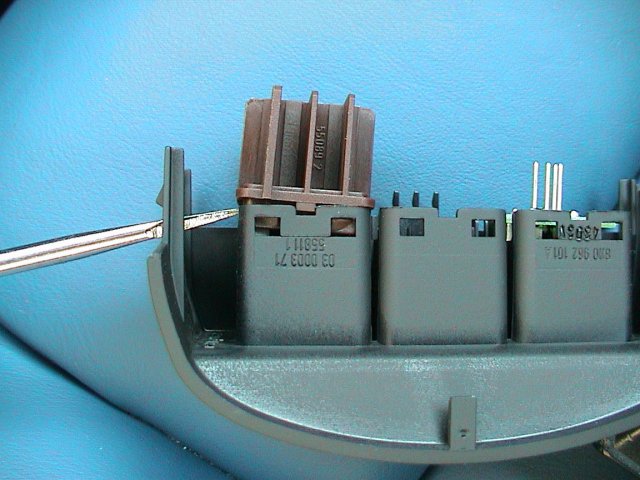
7) Gently apply upward pressure, using a screwdriver, to release each connection from the button-holder:
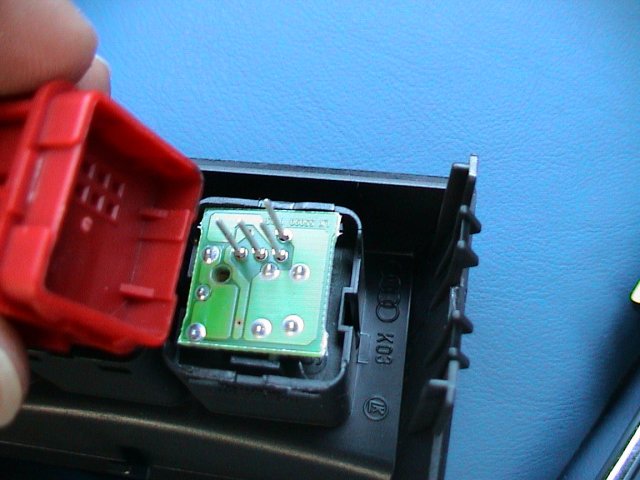
8) This is what the electrical contacts look like:
9) Repeat for second connector:
10) Now you have two free contacts that you can remove from the button-holder and place back in the colored connector (they're identical):
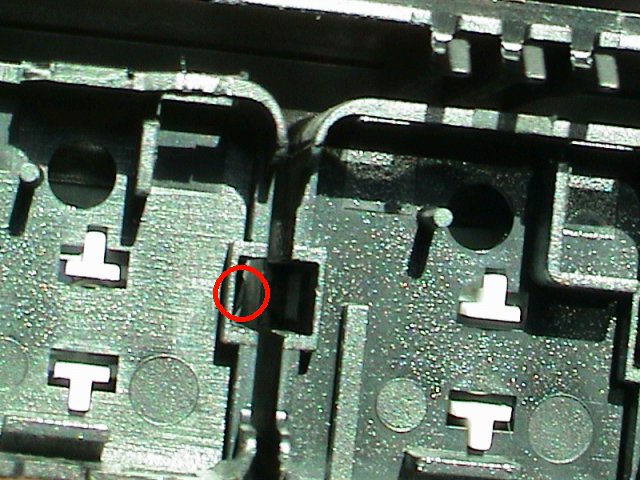
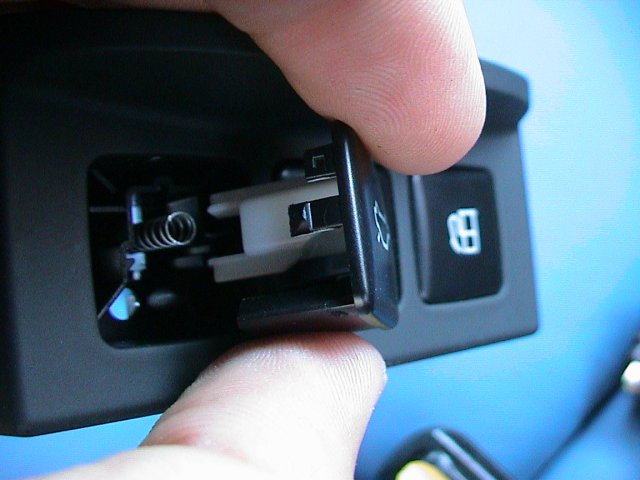
11) To remove the buttons themselves, you'll need to push in on 2 tabs located on each side of the base:
12) Use a small screwdriver (flat-head) for the other tab as it's well hidden in there:
13) Push the button up from the inside (by the tabs) until it sticks out a little from the top:
14) Lift the button up to release it, but be careful not to lose the little spring:
15) Repeat for other button, and swap their place - remember how I told you to remember which color matches which button? You'll need that to replace the connectors at the bottom to match each button.
Repeat the steps above in the reverse order to put everything back together, and push down on the console to snap the holder back in place - Voil?:
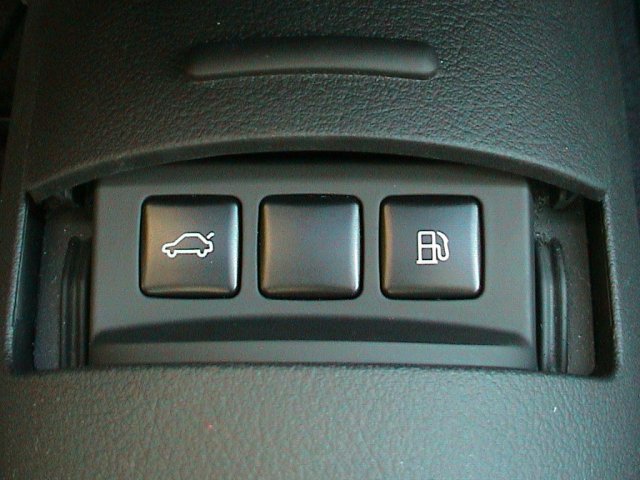
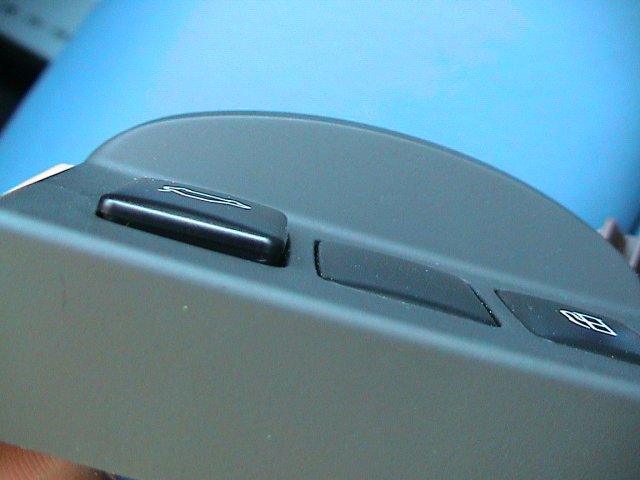
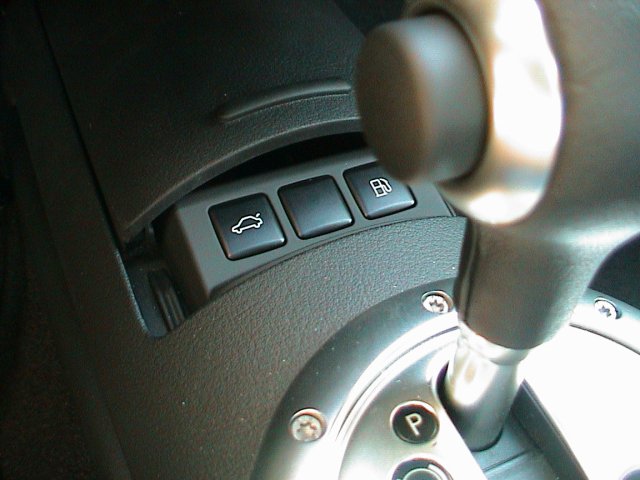
16) You can now see how easy it is to reach the trunk button when the shift know is in "P":
No comments:
Post a Comment