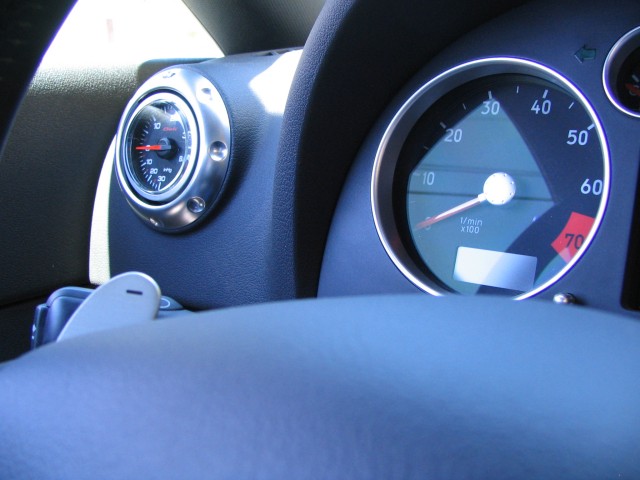
I decided to place it in the left vent, using Steve Schwing's special gauge adapter.
Here are some pictures along with instructions on how I went about installing it:
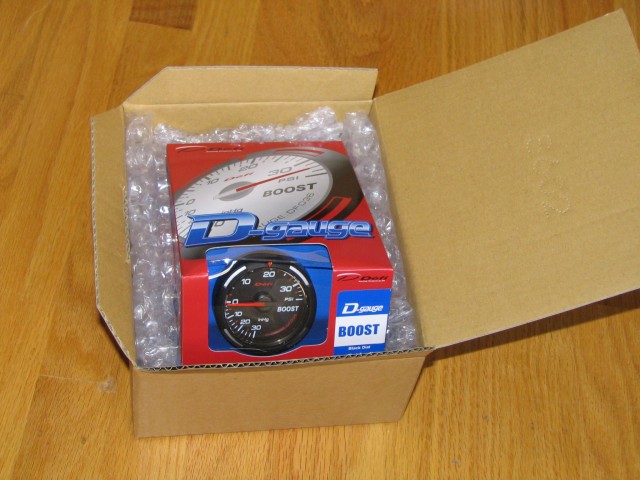
Here's the gauge in the box:
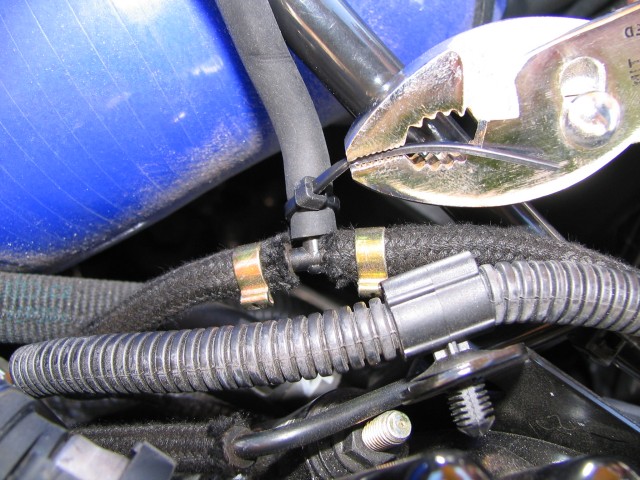
In my case, HPA had already added a T-adapter (not sure where to add it for 1.8T engines though):

Attach on end of the provided tube to the T-adapter:
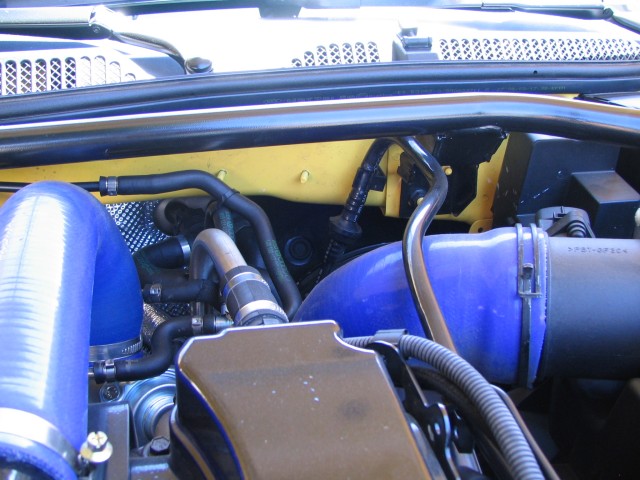
Locate the grommet in the firewall
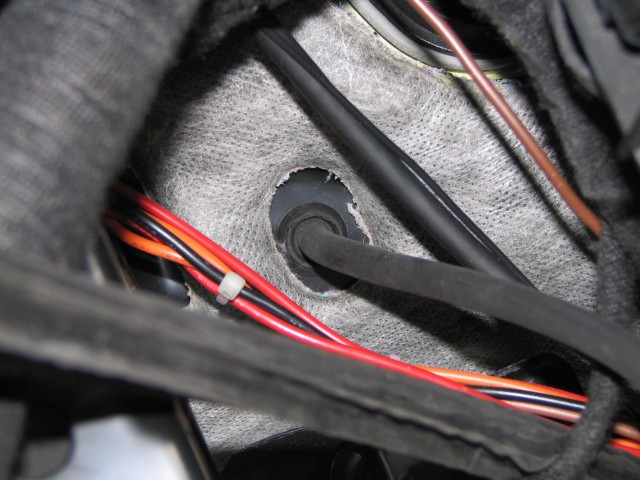
Here it is, simply remove it by pulling on its side:

Make a small hole in the grommet (little smaller than the tube's diameter):

Pass the other end of the tube through the grommet, keeping in mind which way faces "out":

After removing the lower dash panel from under the steering wheel (check my sig for details under item 10), replace the grommet with the tube - here's the inside part of the firewall:
Here's a view of the vent mechanism from the underside of the dash:
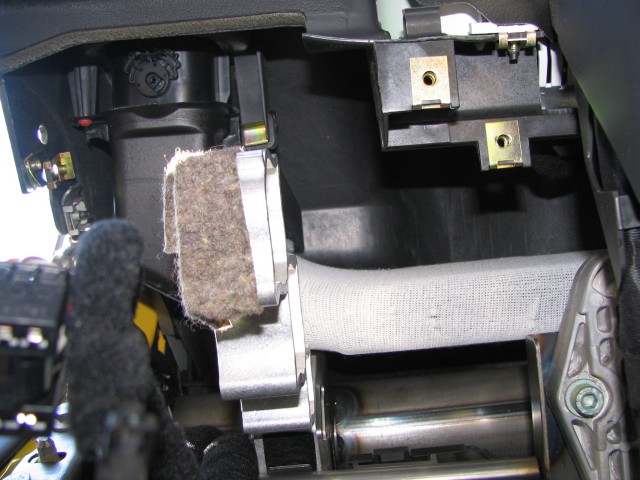
Here's the left vent, you'll need to remove the top (front) half of it:
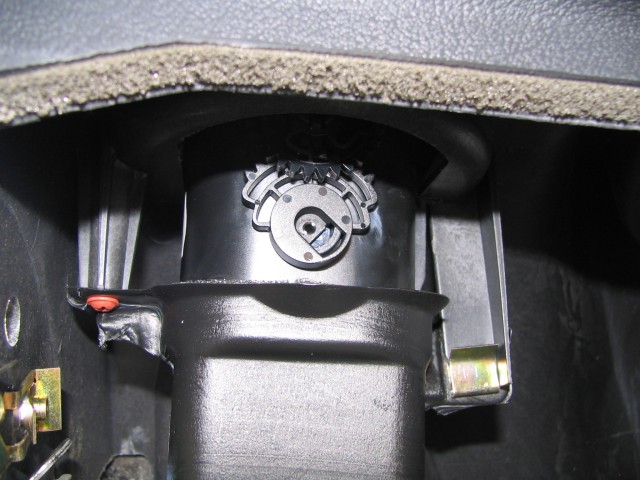
It's fairly easy to push it out by grabbing the right ends:

Keep pushing the vent until it becomes free from the tubing:

Here's the open vent hole, you'll need to pass the tube and electric wires through the top side:

Pass the tube over the pedals and through the fuse holder:

Pass it over the white vent tubing:

Connect the ground (black) wire to the star-shaped hub under the steering wheel:
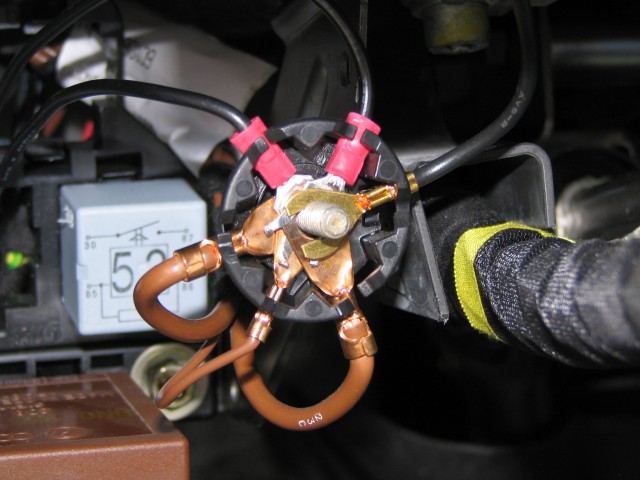
Pass the two wires and tube through the vent:
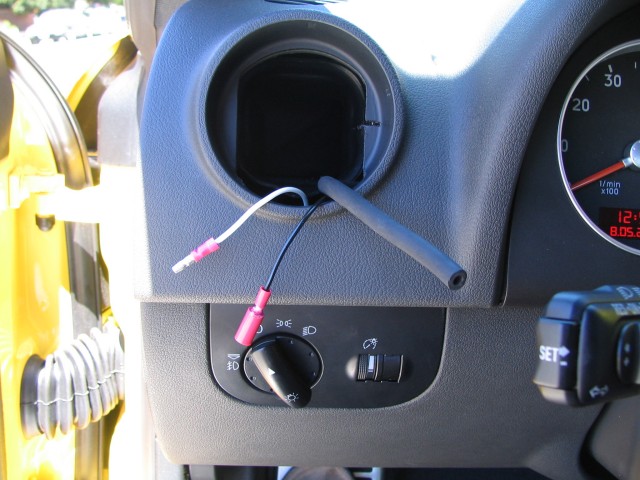
Now to the hardest part: pry the vent apart by pushing on the ribbed edges:

I found that pushing on two edges at a time makes it a lot easier.
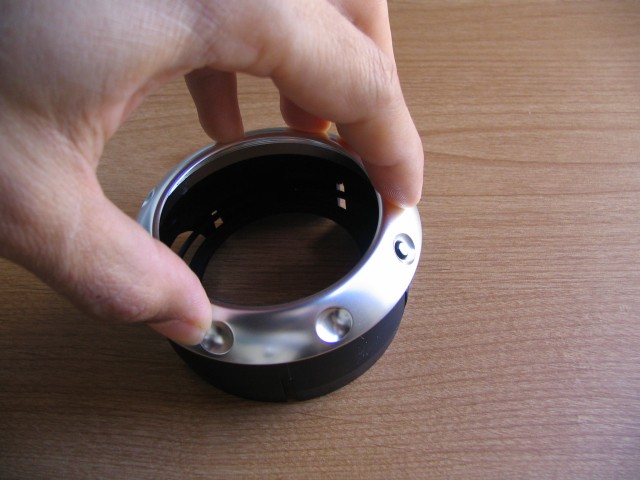
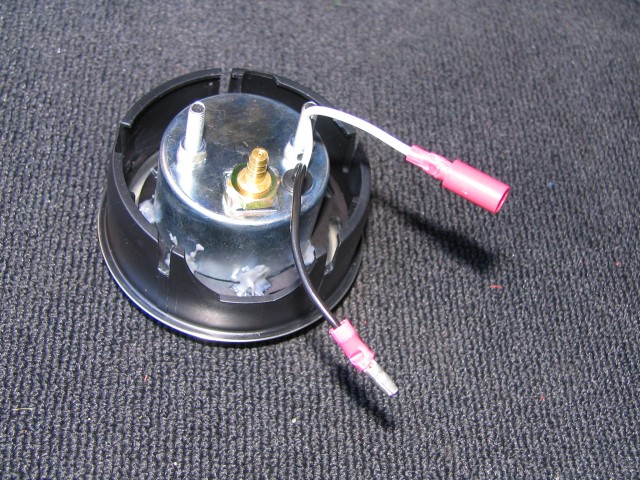
Here are the three parts you end up with after the vent is disassembled:

Disconnect these two pieces from each other, no tools required:






No comments:
Post a Comment