So my original Moll Batterie ETN 540 082 057 (German OEM Manufacturer) gave up its life cycle yesterday. Battery came with my 2000 B5 A4 (Build 99/8), the battery itself was produced in 99/11 its 05/12 now so 73 months on the stock OEM battery aint that bad. either way, i searched around and found some recommendations from other members but they were scattered all over.
Here is my list:
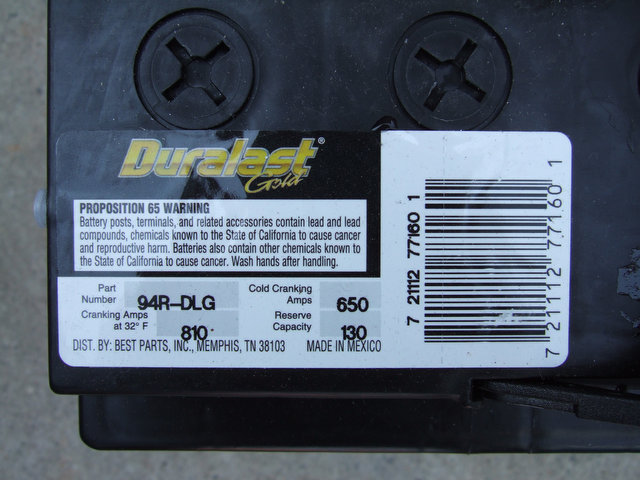
Duralast 94R DLG Autozone (direct fit for 2001+, confirmed by DeutschDriver)
Duralast 48DL Autozone (direct fit verified by myself)
Optima 34R (might need a custom made bracket)
Napa 7548 (unable to find anything when i searched)
Bosch 48B
DieHard International from Sears (direct fit)
41-4 from WalMart (seemed a little big in length when i measured it)
Interstate MTP 91
MotoMaster 72
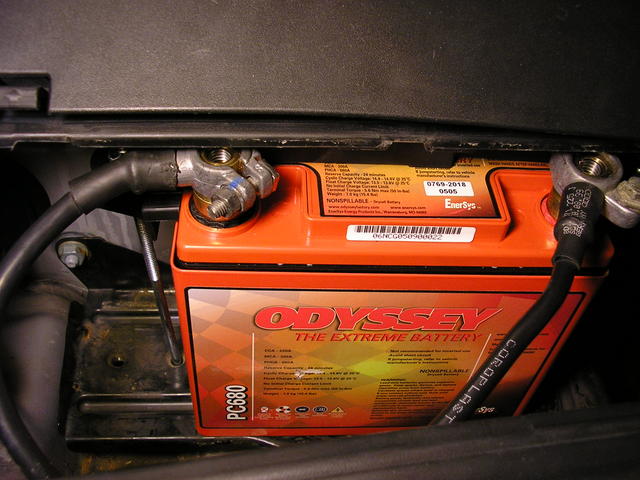
Odyssey PC 680 (needs modifications)
Odyssey PC 1200 (supposed to fit with stock brackets)
Stinger SP 1000 (will need a cage to be installed into car to work)
Energizer sold by PepBoys ( direct fit)
00 A4 B5 comes stock with a Moll Battery that has 70Amps or 570/340 CCA Cold Cranking Amps.
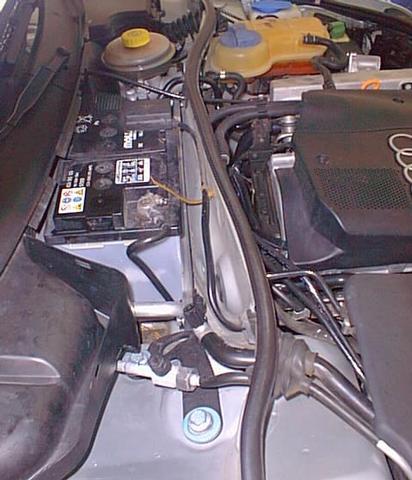
The NEG pole is on the Passenger side and POS on the Driver side.The size is as followed
Length | Width | Height
278mm | 175mm | 190mm Metric
10.95" | 6.9" | 7.49" US System
The battery is held down on the bottom passenger with a small bolt and a clamp. The battery tray that comes with the car is a universal one from Audi and has 3 different holes for the bolt for 3 different sizes, the battery that the b5 is using uses the outest hole so it is as big as you get get without modifiying the tray or buying universal holding brackets.
I searched around the board and found several recommendations for batteries which i have listed here, i went with a Duralast Battery from Autozone which is a direct fit.
I didnt list the warranties or prices as those change with time and can vary; most batteries run between 40$ - 150$ depending on manufacturer. The warranty on most batteries is 2 years free replacement and a 5 year prorated replacement based on use for the original purchaser.
The replacement is fairly simple and sraight forward; make sure you have the RADIO CODE or you will get screwed afterwards, you will also have to reprogramm the date and time and have the windows learn the one touch up and down function again!
Battery weight is approx 40lbs, so be aware of that when handling the piece and dont break the oil dipstick or any other plastic engine parts that might be laying around.
Here we go:
Tools needed: Ratchet set with 13mm and 8mm, phillips screwdriver and a 10mm wrench
Time anticipated: 20mins
Open the hood
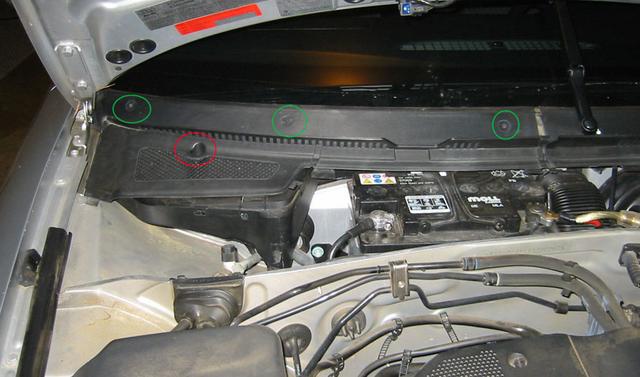
Pull the rubber seal strip away from the firewall
Pull the tray upward and then out towards the front of the car
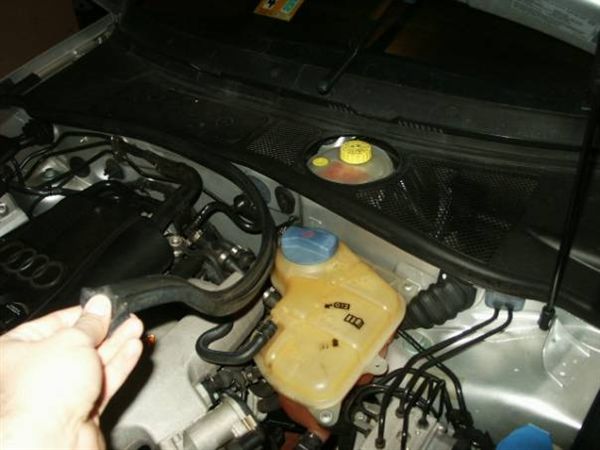
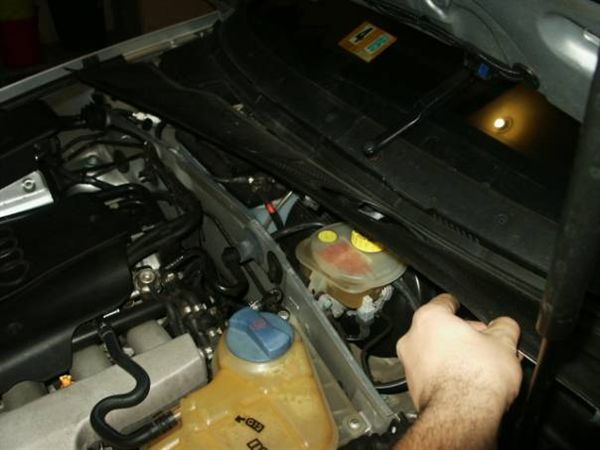
In order for the battery to come out you need to remove the plastic passenger windshield cover, its a good idea to replace the pollen filter as this time as well.
A writeup for the pollen filter replacement is here The cover is held on to the car with 3 phillips screws and an 8mm bolt. pull the cover away towards the top and then passenger side, the battery will be exposed.
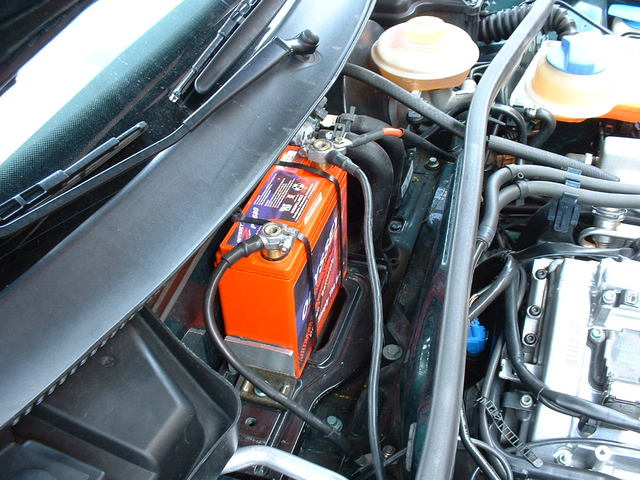
This picture shows a motorcycle battery used instead of an automotive, the battery is small and the bolts towards the bottom left (the one thats covered with the NEG cable) is in the 2nd whole, the stock battery will be held down but will be found on the 3rd whole. Take a look at the orange section that is exposed on the POS cable. if you go straight down from the Orange you see a hole without a cable, this is where the battery drain hose will go, make sure that one is in there or you will run into problems later trying to get that sucker in there
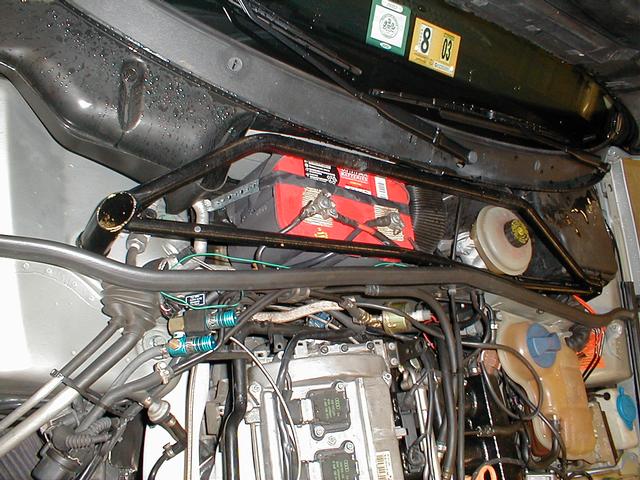
Another look at the motorcycle battery and the holes for the bolts. This person is using a non fitting battery and makes it work by using universal battery hold downs. With the stock setup use the 13mm socket and remove the braket holding the battery down.
This picture shows the battery still installed, underneath the battery is a drain whole for the firewall, often this drainwhole becomes clogged with leaves or any other dirt. Make sure that you clean it up before installing the new battery.
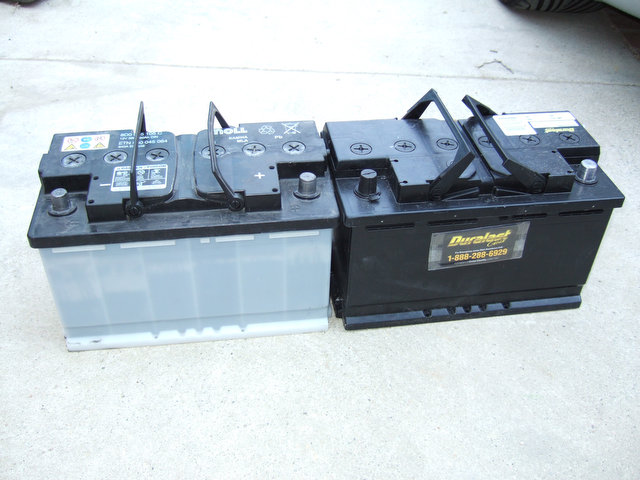
Here is a shot of the Duralast 94R DLG, side by side with the OEM battery:
Remove the 2 battery clamps, starting with the NEG|BLACK first and then the POS|RED. Disconnect the battery drain hose from the battery and leave it in the whole mentioned earlier. Move the cables out of the way and pull the old battery out
Installation is in the reverse order except that you now have a longer hose for the battery drain to be connected to.
No comments:
Post a Comment