Difficulty:
2 on a scale of 1-10
Parts Needed:
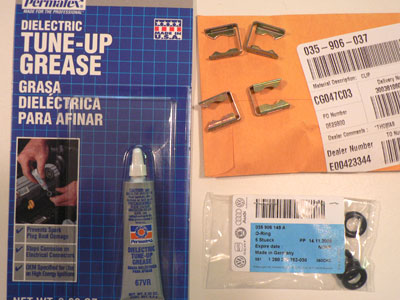
8ea of part number 035 906 149 A
4ea of part number 035 906 037 (not required as old ones can easily be reused)
Dielectric Grease
Carb Cleaner Spray
Tools Needed:
Flathead Screwdriver
5mm hex
Needle Nose Pliers
Rags (old t-shirts)
Rubber Gloves
Time to complete:
45 minutes if you fly
1 ½ hours if you take your time
Here are the parts you will need:
This is the area where we will be working:
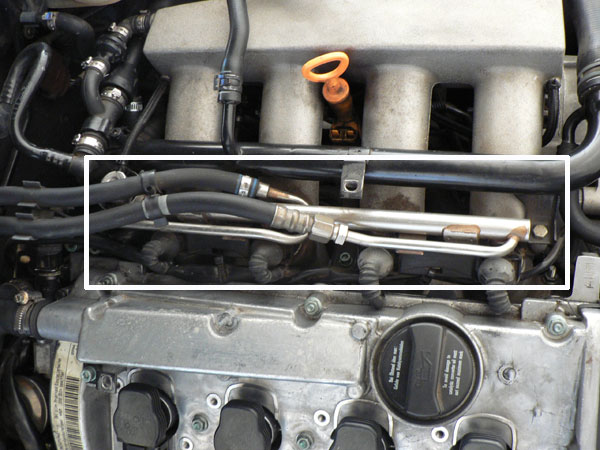
You can see how dirty it has become in this area. Some weeping is normal (this appears excessive):

Cut and Remove cable ties that secure the injectors wiring harnesses:

Determine the location of your fuel pump fuse:
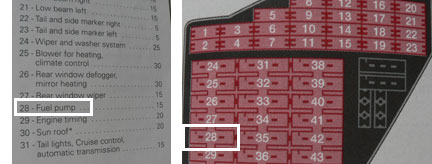
Gently Pry off the fuse panel cover:

Use the tool inside the panel and remove the fuel pump fuse:
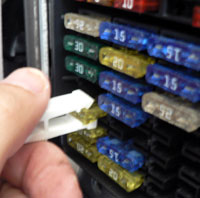
Try to start your car, run it until it dies. If it does not turn over, just crank it a few times.
Remove the 2 – 5mm hex screws holding the fuel rail in place (be careful not to lose them):
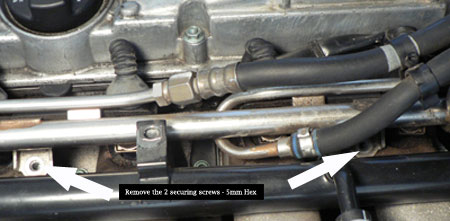
With the screws removed lift the entire fuel rail straight up applying equal force on each end. May need to gently wiggle it.:
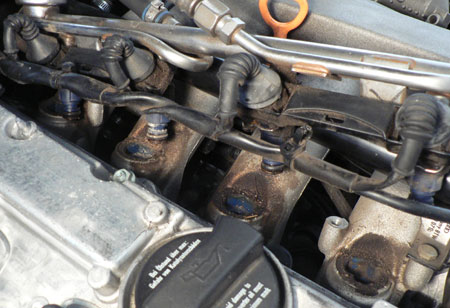
Looks dirty huh?
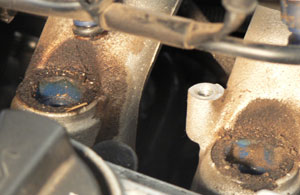
Disconnect wiring harness from each injector (pulls straight off):
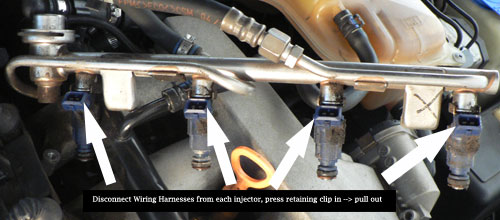
Pry off each injectors retaining clip with a small screwdriver:
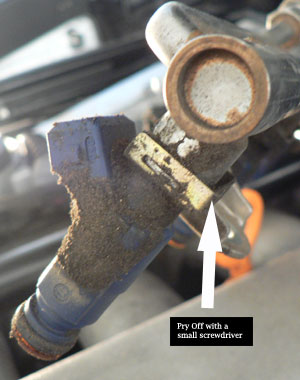
Now, it is time to remove each injector from its housing. Place some rags under each injector. When you pull each off, some fuel will spill out (between @1-5 thimbles full)
Pull each one straight out (down) – it will take a little force.
Cleanup each injector by spraying and wiping with some carb cleaner.
When they are all clean, it is time to replace the gaskets.
I found it easiest to use a small pair of needle-nosed pliers to grab part of the gasket. Pull it towards you, then lift it up a little (over the housing). Place your thumb under it so that it does not slip back into place and work the rest of it off over the housing with your hands:
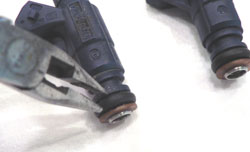
Injectors with gaskets removed:
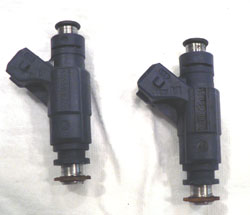
Now that all of the gaskets are removed, lube up all of the new gaskets with a little dielectric grease. Use rubber gloves and place a little grease between your fingers. Rub it into each gasket to lightly coat them:
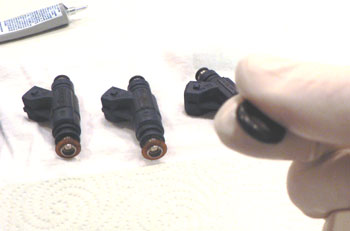
All Injectors cleaned up, new lubed gaskets installed:

Before you re-install the new injectors, cleanup the gunk surrounding their housing. Be careful not to let anything fall in.
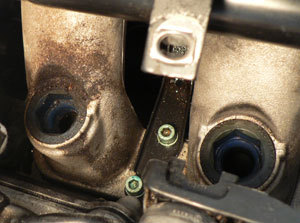
I used an old pool cue which tapers in size. I cut off an end and placed it over the hole so that no major gunk would fall in while cleaning around it.
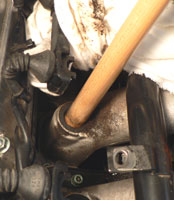
I used carb cleaner, a toothbrush and some clean rags to clean up the surrounding area.
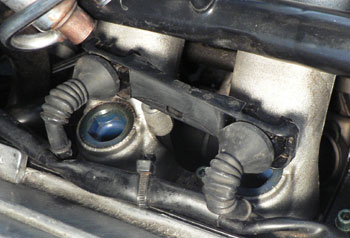
Now, insert the injectors into each rail housing. Just push them straight in (up). Be careful how far up you push them. There are some slots that should still be visible which is where the retaining clip latches onto.
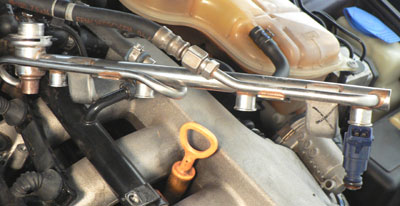
Once the injector is pushed into place, install the retaining clip. Note that there are slots cut into each injector that will lineup with the retaining clip. If you push the injector up too far, these slots will not be visible.

Each injector should be installed with retaining clips in place. The area should be fully clean.
Now place the rail and injectors over the holes. Make sure everything is lined up OK. Press them into place applying equal force from both sides until they are seated well.
Screw down the support brackets.
Re-Install the wiring harnesses and re-cable tie them in place.
Put your fuel pump fuse back in and replace the fuse cover.
Start your car!
1 comment:
If you haven’t made modifications to your car, you may not be required to change the stock injector. A simple cleaning service may be required to remove the gunk accumulated in the injector affecting its performance. Only an experienced professional can determine whether your car needs actual fuel injector replacement. The professionals will inspect the current injector and analyze the performance to calculate fuel efficiency. This will help you to run your car in perfect condition at all times. fuel injectors
Post a Comment