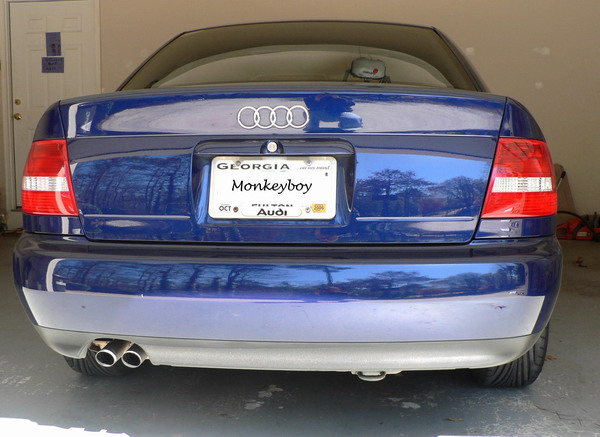
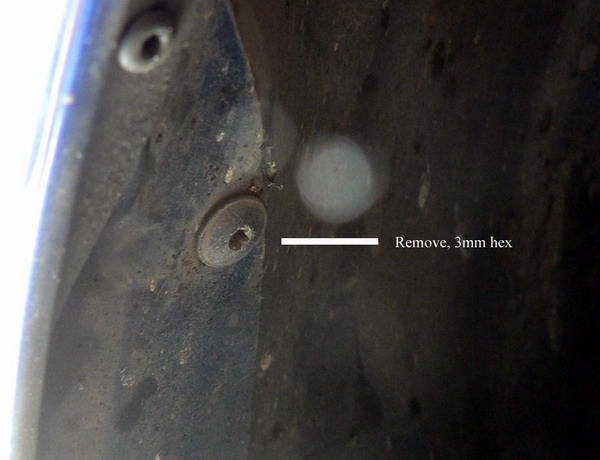
There is one hex screw that attaches the rear wheel well to the rear bumper. Remove the one screw
from each side:


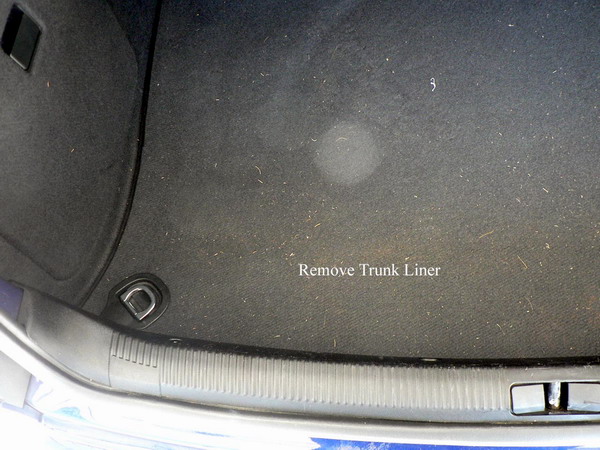
Remove trunk liner to access the bumper bolts


Make sure an exit tube behind the passenger rear wheel well is not tangled

With the 2 hex screws and 4 bolts removed, you can push the whole bumper forward

With the bumper pushed forward (as far as it will go), you will now need to unclip the bumper from the side supports.
Go to one side, grab behind the bumper @4" down from its top and pull (gently but firmly) straight out / a little down (towards you) from the side of the car. This will release the top portion of the bumper.
Look down and you'll be able to see the bottom clip still attached, just give that a little pull up / out to release it completely.
Do the other side.


What the attaching clips looks like from the inside of the removed bumper

With your bumper removed, you can clear out the sunroof drains, one on each side. Make sure your sunroof is open before proceeding.
Use a standard speedometer cable and snake it through starting at the exit point (under the rear bumper) which will lead thru the rear of your open sunroof.


Do both sides.
Done.
To reassemble your bumper.
Pickup the bumper and slide the bumper supports (on the bumper) into the bumper holes on the frame of your car. Slide the bumper as far forward as it will go.
Ensure the bumper lines up correctly with the rear wheel well.
Once it is lined up, push each side of the bumper straight into the side of the car to reattach the side clips. They should 'pop' back in.
Once secure, pull the bumper back (rearward) to line up with the 4 bolt holes in the trunk.
Insert and secure each bolt (good and tight). Make sure you reattach the cargo net plate and hook as you insert each bolt.
Screw in each hex screw on both sides of the rear wheel well.
3 comments:
Very clear and nicely shot. Sadly, it is wholly unnecessary and only partly effective.
The drains can be reached much more easily from the inside. And, more importantly, while you're in there you can clean out any water that has leaked in.
To get at it from the inside, Remove the trunk liner and trunk trim. Lift off the cubby, and pull back the side liner.
Now, you have a good view of your CCM (buried in foam) and can see if you have any water built up (I had about an inch, which hopefully explains why my CCM was going nuts and randomly locking and unlocking the car).
You can easily see the red sunroof drain hose coming down. Pull it off its plug and clean it out the same way (with a speedo cable or a bicycle cable). I also cleaned the muck out its plug - with my finger - eeew.
If you have water built up, there's a little plug/drain-valve out of the very bottom. It pops out easily. It actually looks like it is supposed to drain. Give it a good cleaning so it'll drain properly again.
Pull the foam and CCM out. My foam was sopping wet. Dry the foam by squeezing it in a towel. Mop up the remaining water and muck out of the bottom. Leave a fan blowing over it all overnight to dry it out.
Aren't there 4 sunroof drains? 2 in the front and 2 in the rear? How do you access the front drains? Also couldn't you just run the bicycle cable from the top by the sunroof where the drain starts. That way you wouldnt need to take anything off like the bumper. You would just have to run the cable down the drain till it pokes out the other side.
I have an A4 avant, and had a similar problem and while looking it up on google, came across this. In my car, I could easily see two drains towards the fron of the sun roof and was able to clean them up with a cable as suggested. Are there drains in the back too?
Post a Comment